Learn C++ with ESP32 : WIFI Scan Made Easy
Introduction
In this blog, we will implement the WiFi scan functionality of the ESP32 using C++ and the ESP-IDF framework. By employing object-oriented programming principles, we can create modular, reusable, and clear code. Ultimately, you will learn how to integrate C++ classes with ESP32 development and utilize the ESP32 module to scan for nearby WiFi networks.
Content
Development Environment Setup
1. Install Visual Studio Code from the official website.
2. Install the ESP-IDF extension.
Creating a New Project
1. In VS Code, press Ctrl (Cmd) + Shift + P, then type ESP-IDF: New Project.

2. Choose a template project (such as the blink example), set the project name (for example, WIFI_Scan), and select a storage path.

3. The system will automatically generate a new ESP-IDF project for you, which includes basic CMake files and an example code.
File Structure
my_project/
├── CMakeLists.txt
├── main/
│   ├── CMakeLists.txt
│   └── main.cpp
└── ...
Writing the C++ WiFi Scan Class
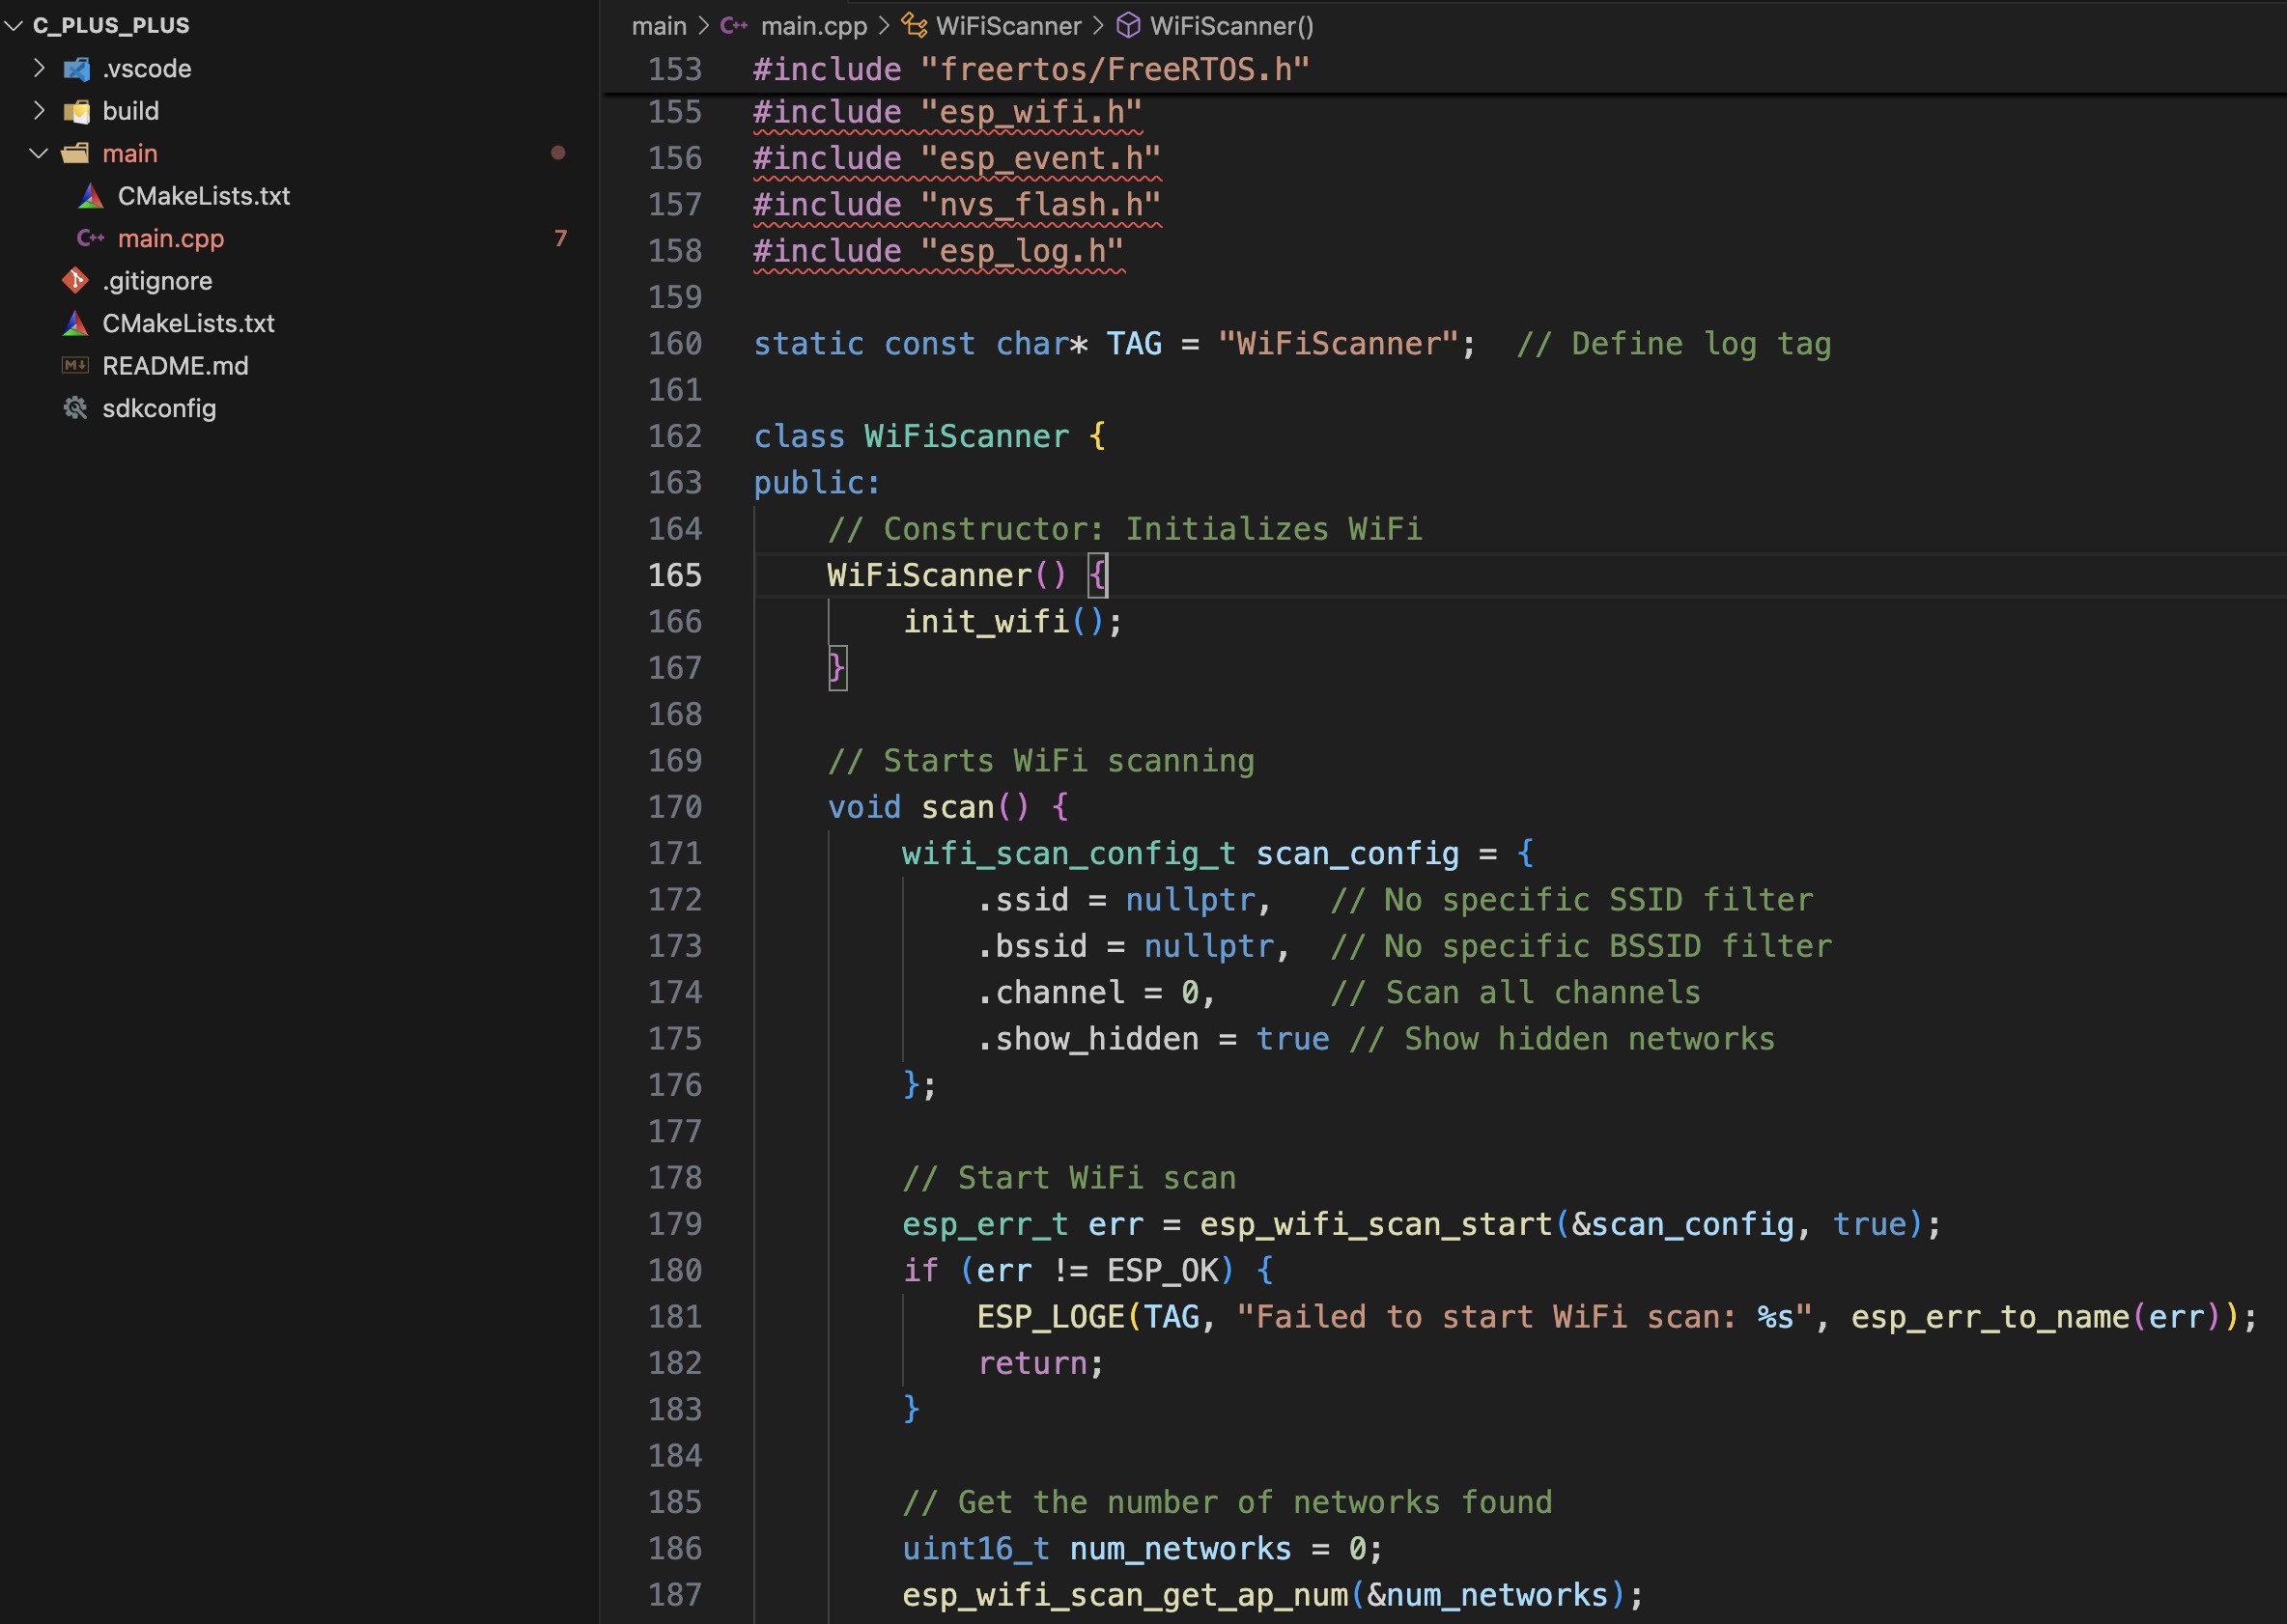
We will create a C++ class named WiFiScanner to handle WiFi initialization and scanning operations. This class will utilize the ESP32 WiFi driver to initiate scans and retrieve a list of available WiFi networks, printing the scan results to the terminal via the ESP-IDF logging system (ESP_LOG).
#include "freertos/FreeRTOS.h"
#include "freertos/task.h"
#include "esp_wifi.h"
#include "esp_event.h"
#include "nvs_flash.h"
#include "esp_log.h"

static const char* TAG = "WiFiScanner";  // Define log tag

class WiFiScanner {
public:
    // Constructor: Initializes WiFi
    WiFiScanner() {
        init_wifi();
    }

    // Starts WiFi scanning
    void scan() {
        wifi_scan_config_t scan_config = {
            .ssid = nullptr,   // No specific SSID filter
            .bssid = nullptr,  // No specific BSSID filter
            .channel = 0,      // Scan all channels
            .show_hidden = true // Show hidden networks
        };

        // Start WiFi scan
        esp_err_t err = esp_wifi_scan_start(&scan_config, true);
        if (err != ESP_OK) {
            ESP_LOGE(TAG, "Failed to start WiFi scan: %s", esp_err_to_name(err));
            return;
        }

        // Get the number of networks found
        uint16_t num_networks = 0;
        esp_wifi_scan_get_ap_num(&num_networks);

        // Store scan results in an array
        wifi_ap_record_t ap_records[num_networks];
        esp_wifi_scan_get_ap_records(&num_networks, ap_records);

        // Log the scan results
        ESP_LOGI(TAG, "Found %d WiFi networks:", num_networks);
        for (int i = 0; i < num_networks; ++i) {
            ESP_LOGI(TAG, "SSID: %s, Signal strength (RSSI): %d, Auth mode: %d",
                     ap_records[i].ssid, ap_records[i].rssi, ap_records[i].authmode);
        }
    }

private:
    // Initializes WiFi
    void init_wifi() {
        wifi_init_config_t cfg = WIFI_INIT_CONFIG_DEFAULT();
        esp_err_t ret = esp_wifi_init(&cfg);
        if (ret != ESP_OK) {
            ESP_LOGE(TAG, "Failed to initialize WiFi: %s", esp_err_to_name(ret));
            return;
        }

        // Set WiFi to station (STA) mode
        esp_wifi_set_mode(WIFI_MODE_STA);

        // Start WiFi
        esp_wifi_start();
    }
};

// Main function, entry point of the program
extern "C" void app_main() {
    // Initialize NVS (Non-Volatile Storage)
    esp_err_t ret = nvs_flash_init();
    if (ret == ESP_ERR_NVS_NO_FREE_PAGES || ret == ESP_ERR_NVS_NEW_VERSION_FOUND) {
        ESP_ERROR_CHECK(nvs_flash_erase());
        ret = nvs_flash_init();
    }
    ESP_ERROR_CHECK(ret);

    // Initialize event loop
    tcpip_adapter_init();
    ESP_ERROR_CHECK(esp_event_loop_create_default());

    // Create a WiFiScanner object and start scanning
    WiFiScanner scanner;
    scanner.scan();
}
Code Explanation
1. WiFiScanner Class:
Purpose: Encapsulates WiFi functionalities, modularizing the WiFi scanning task.
Constructor: The WiFiScanner() constructor calls the private method init_wifi() to initialize the WiFi module.
scan() Method: This public method executes WiFi scanning, configuring scan parameters, starting the scan, retrieving results, and printing WiFi network information via the logging system.
init_wifi() Method: A private method that initializes WiFi and sets it to WIFI_MODE_STA.

2. app_main():
NVS Initialization: Initializes NVS (Non-Volatile Storage) to ensure proper WiFi functionality. If NVS is corrupted or not formatted, it will be erased and reinitialized.
Event Loop: The esp_event_loop_create_default() function initializes the ESP-IDF event loop to handle system and WiFi-related events.
WiFiScanner Object: An instance of the WiFiScanner class is created in app_main(), and its scan() method is called to initiate WiFi scanning.

3. ESP-IDF Logging System (ESP_LOG):
ESP_LOGI(TAG, ...): Prints informational log messages, such as the number of discovered WiFi networks and their details.
ESP_LOGE(TAG, ...): Prints error log messages, for example, when the WiFi scan fails. This logging system is designed for embedded systems, providing flexible log level adjustments that aid in debugging and system tracing.統追蹤。
Compilation and Flashing
In the VSCode window, find the "ESP32-IDF : Build, Flash and Monitor" icon to execute and flash the program.
Running the Program
After running the program, you will see the following output in the terminal:
I (1234) WiFiScanner: Found 3 WiFi networks:
I (1235) WiFiScanner: SSID: MyHomeWiFi, Signal strength (RSSI): -45, Auth mode: 3
I (1236) WiFiScanner: SSID: CoffeeShopWiFi, Signal strength (RSSI): -70, Auth mode: 0
I (1237) WiFiScanner: SSID: NeighborsWiFi, Signal strength (RSSI): -80, Auth mode: 3
Conclusion
We have learned how to implement the WiFi scanning functionality of the ESP32 using C++ and the ESP-IDF framework. By encapsulating WiFi functionality within the WiFiScanner class, we have made the code more modular and easier to maintain. We utilized the ESP-IDF logging system to clearly print scan results to the terminal, which is extremely helpful for embedded development.

The combination of C++ and ESP-IDF allows us to write cleaner and more maintainable code while fully leveraging the powerful capabilities of the ESP32 microcontroller. Now, you can try to expand this project further by adding more features and continue exploring networking programming techniques in ESP32 development.


