ESP32 Tutorial – How To Create An ESP32 Project With VSCode
Contents
Introduction
We can use the GUI provided by VSCode and ESP-IDF (Espressif IoT Development Framework) to quickly create a new ESP32 project. This is more efficient than using the ESP-IDF command line method and avoids using too many commands to complete the task. This can speed up the software development process for ESP32 chips or modules.
Prepare ESP-IDF And VSCode
1. Install Visual Studio Code from official website.
2. Install the ESP-IDF plug-in.
Create A New ESP32 project
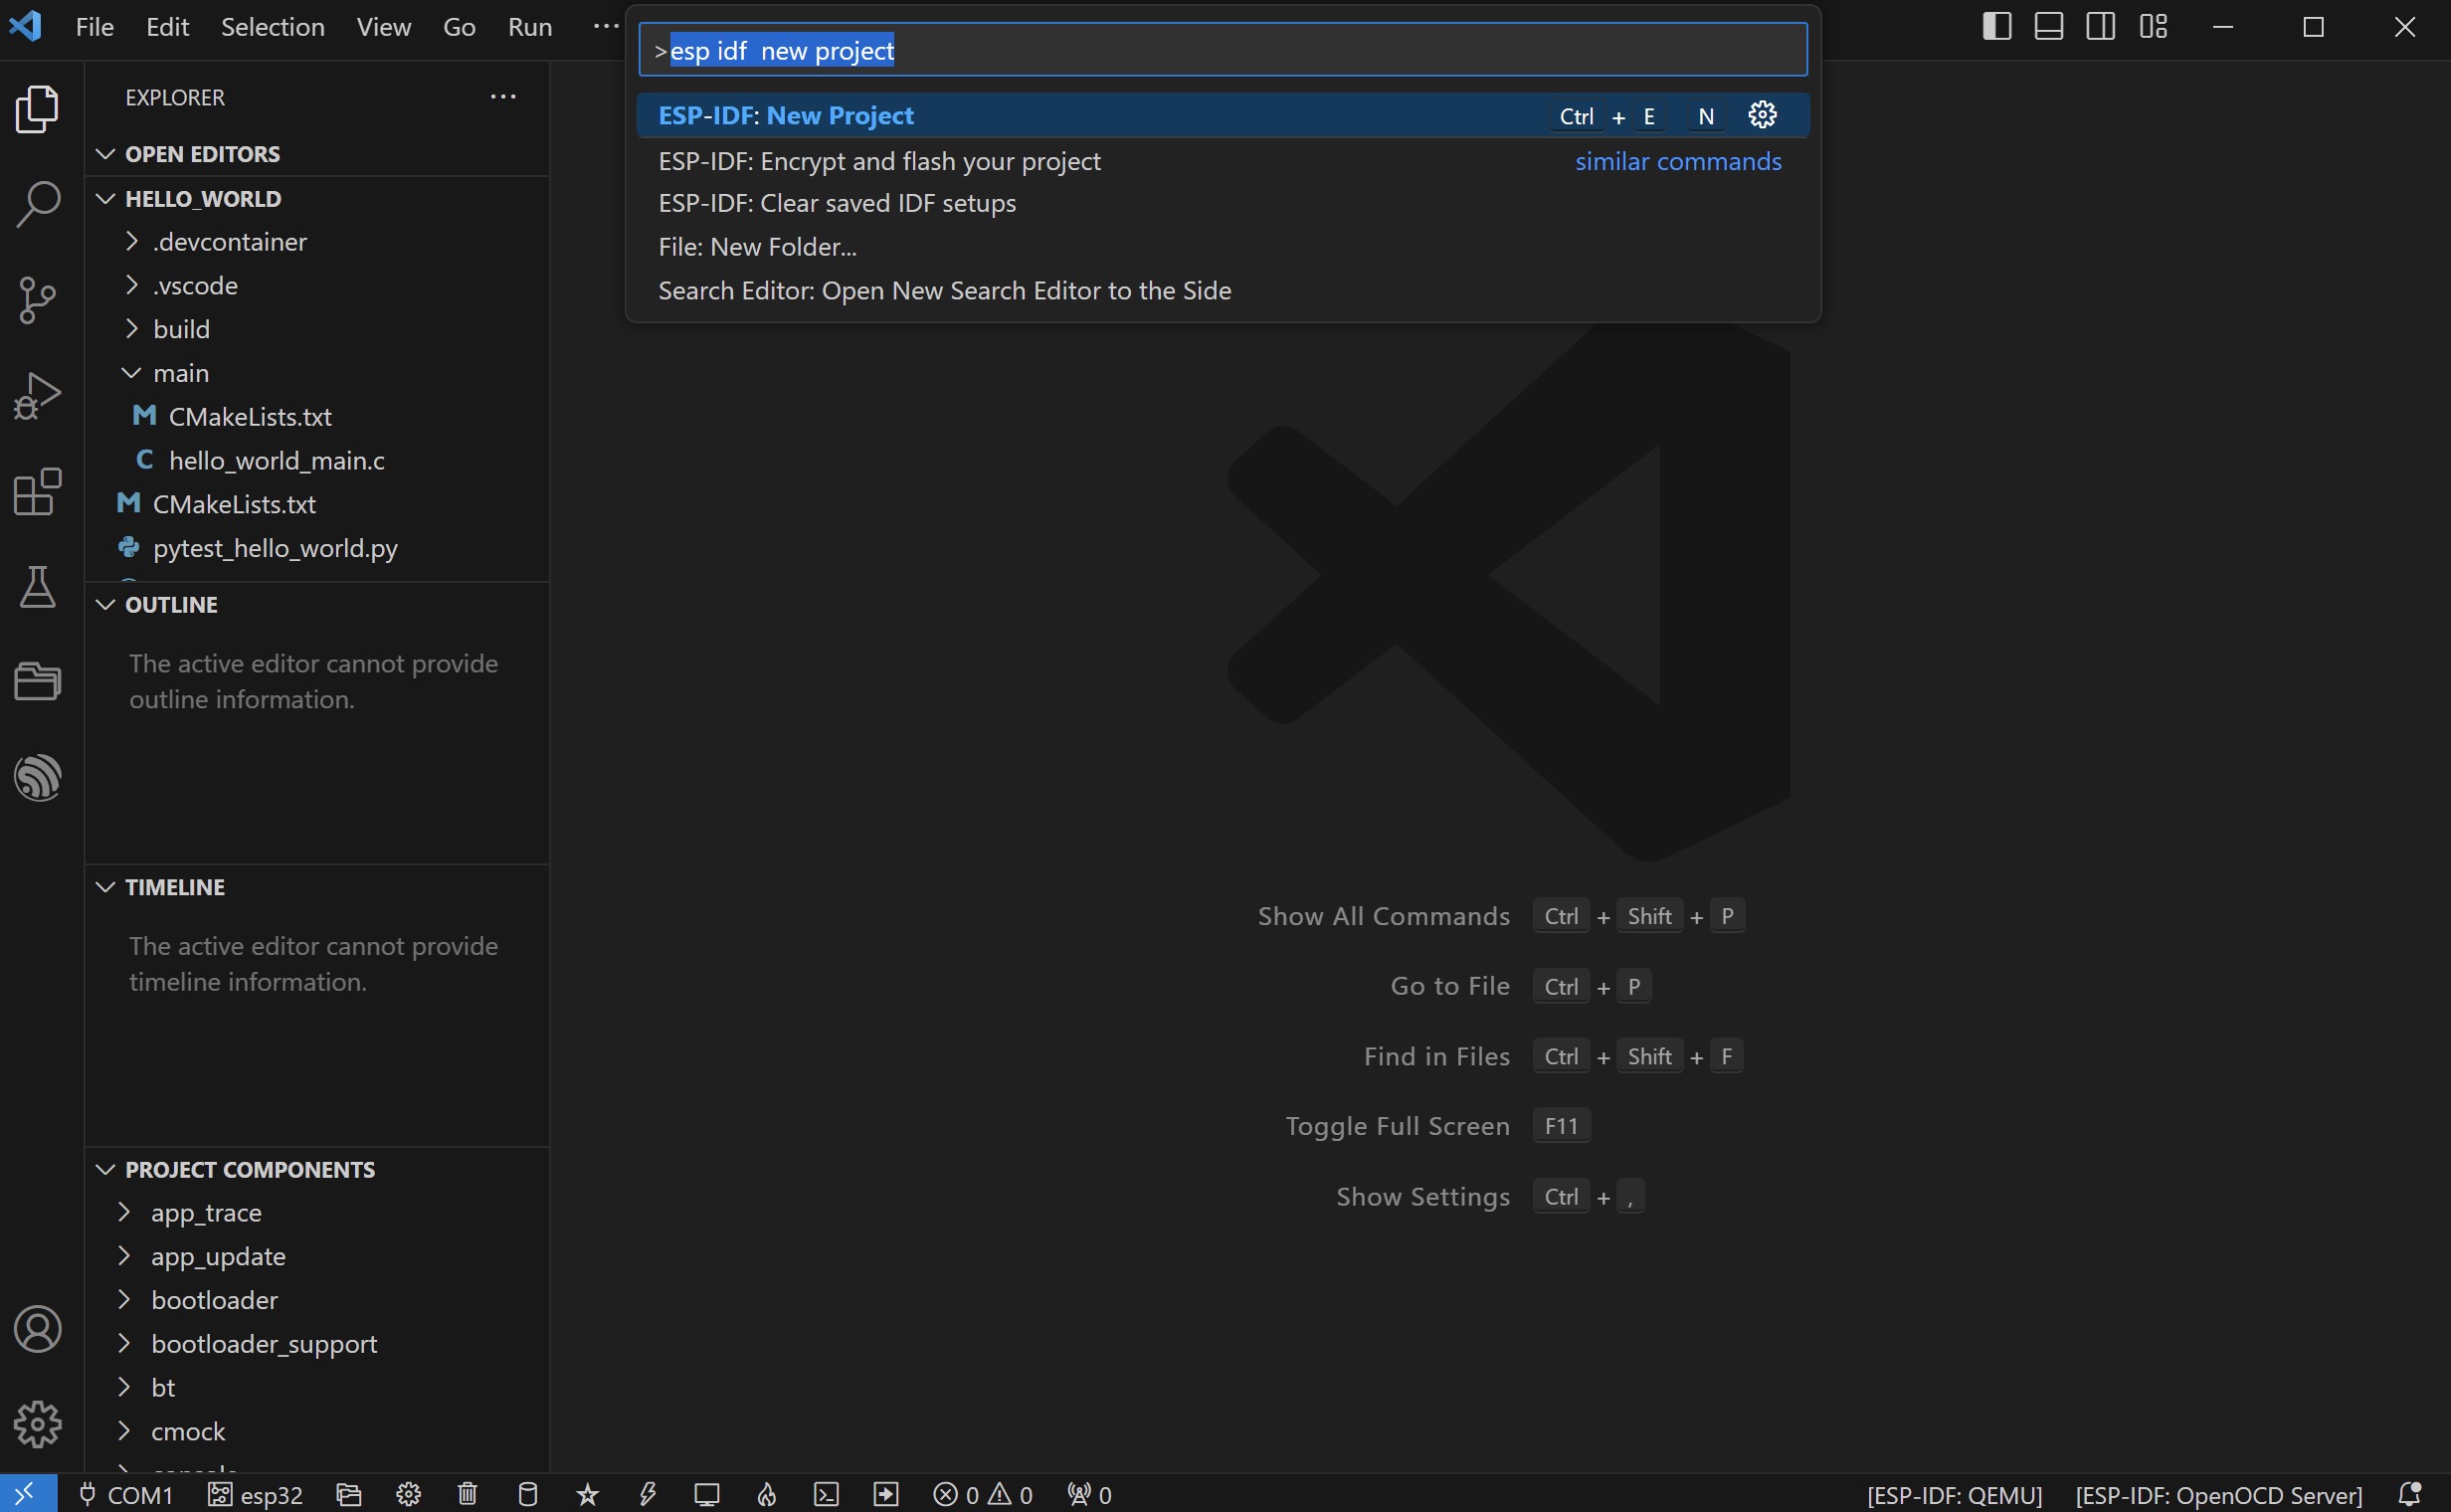
Press Ctrl(Cmd)+Shift+P or F1 to open the command panel. Then enter "esp idf new project".
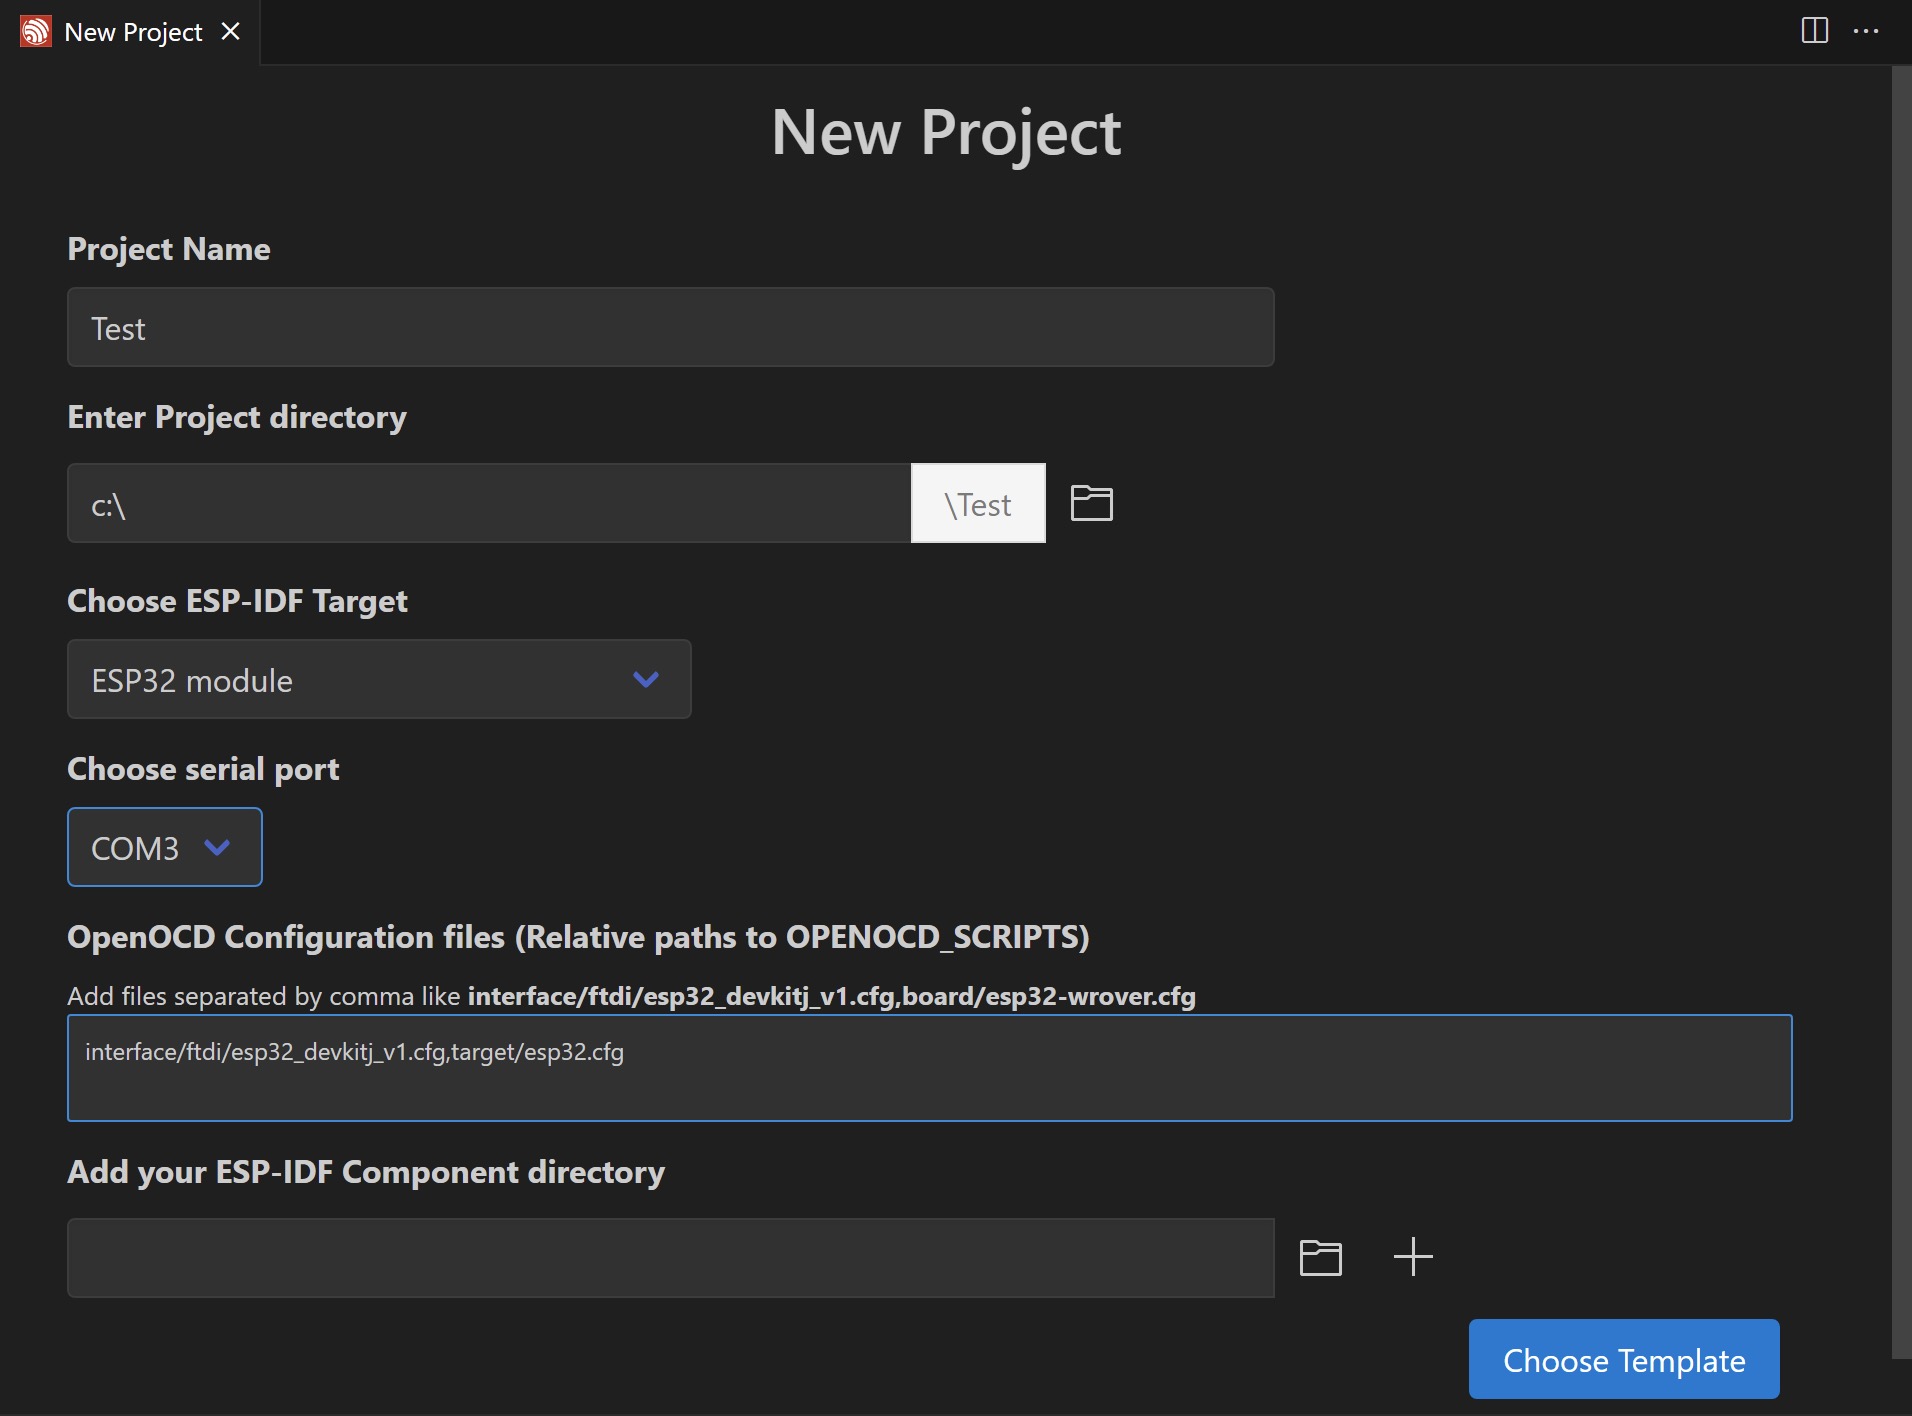
"Project Name", "Enter Project directory", "Choose ESP-IDF Target" can be set according to your own needs.
"Choose serial port" is determined by the serial port of the computer and module, other things can remain unchanged.
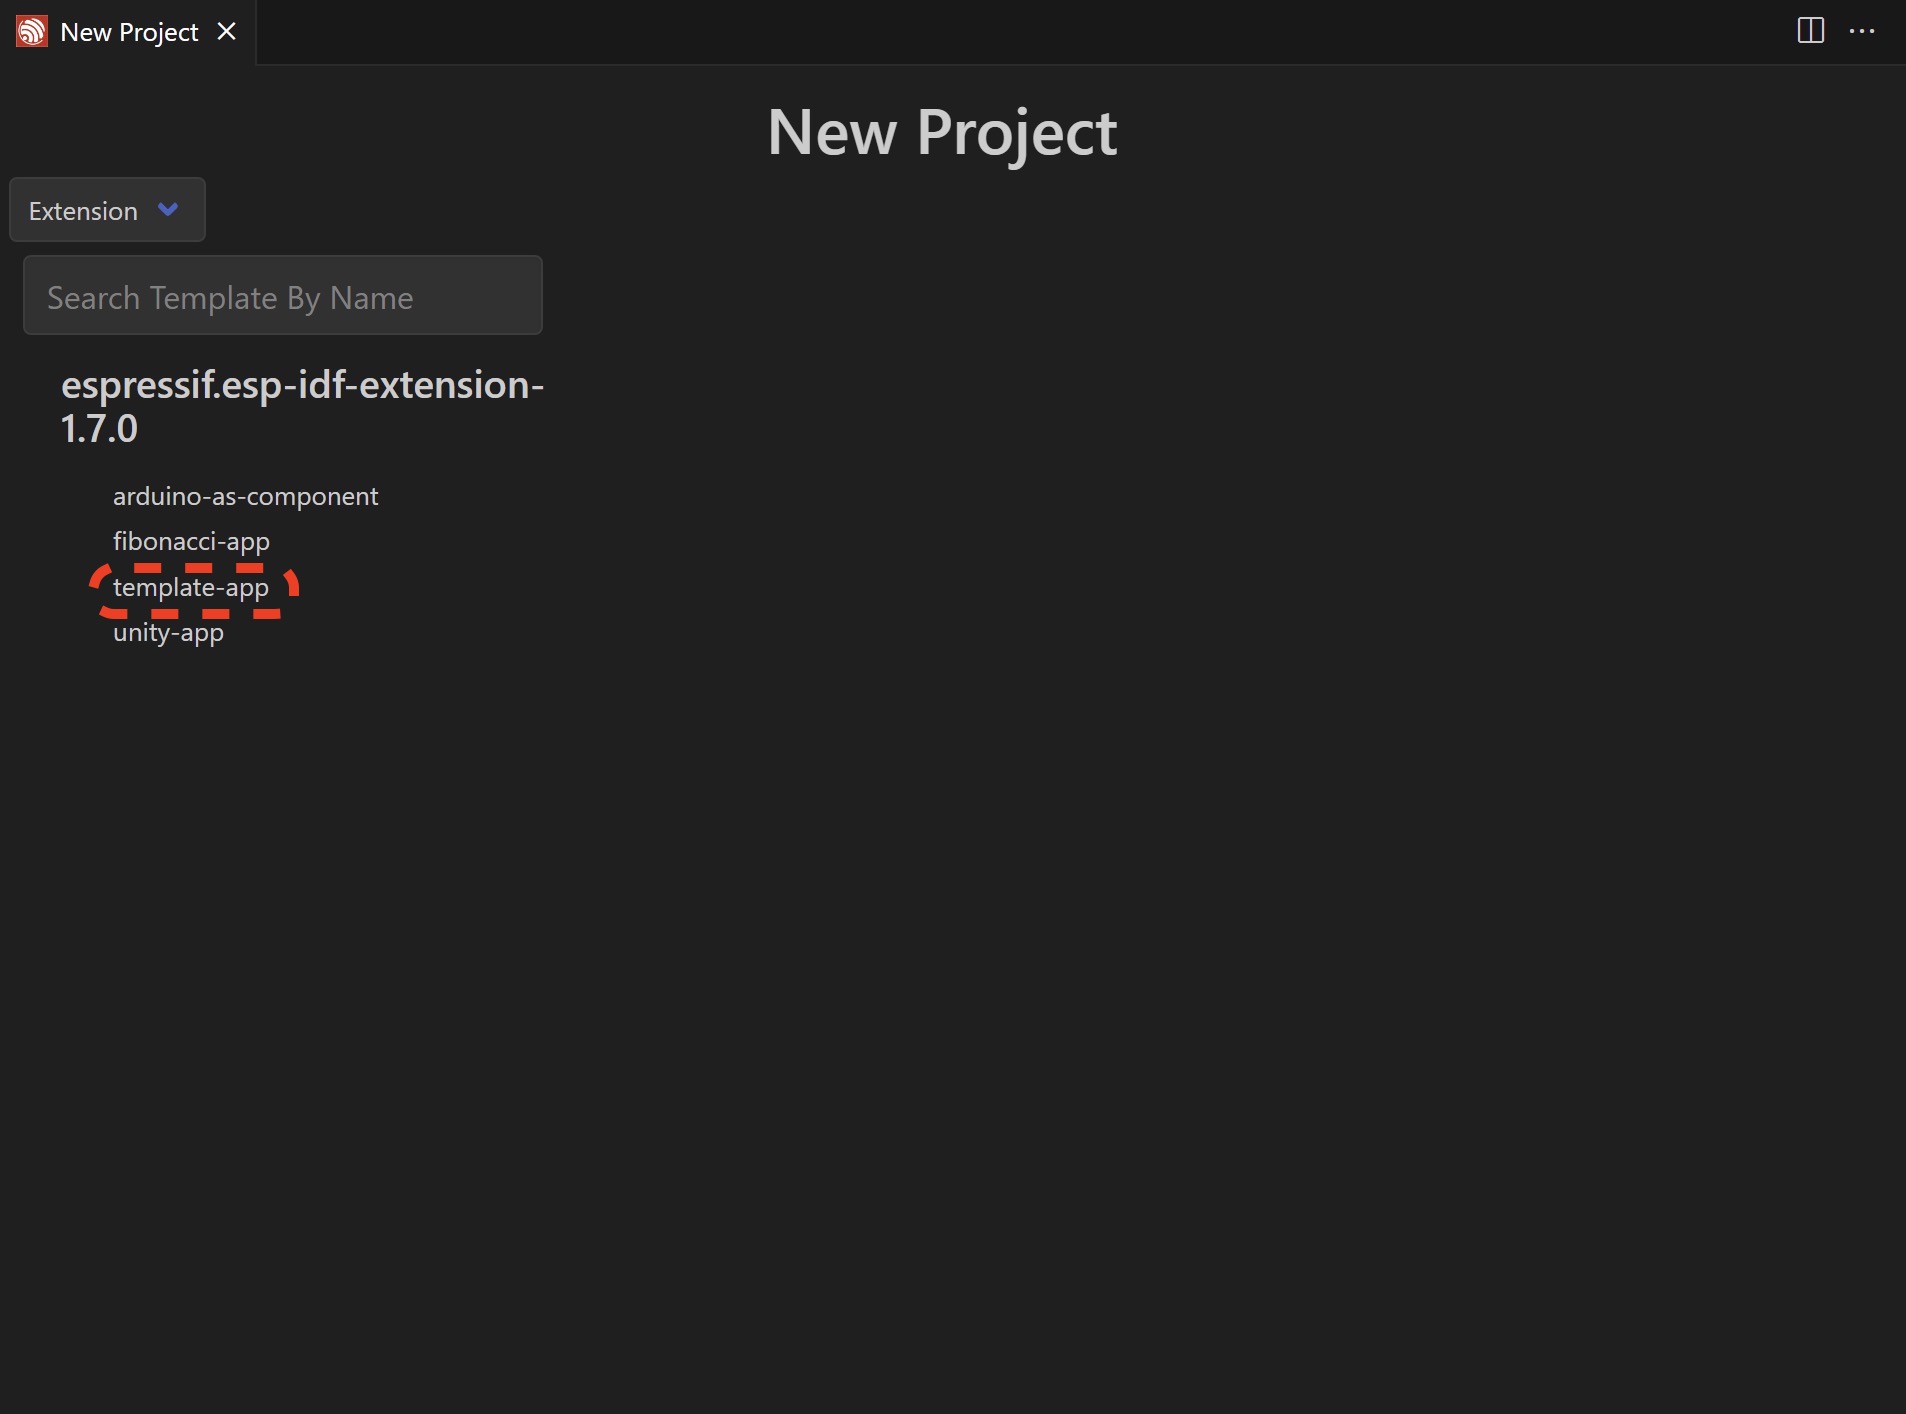
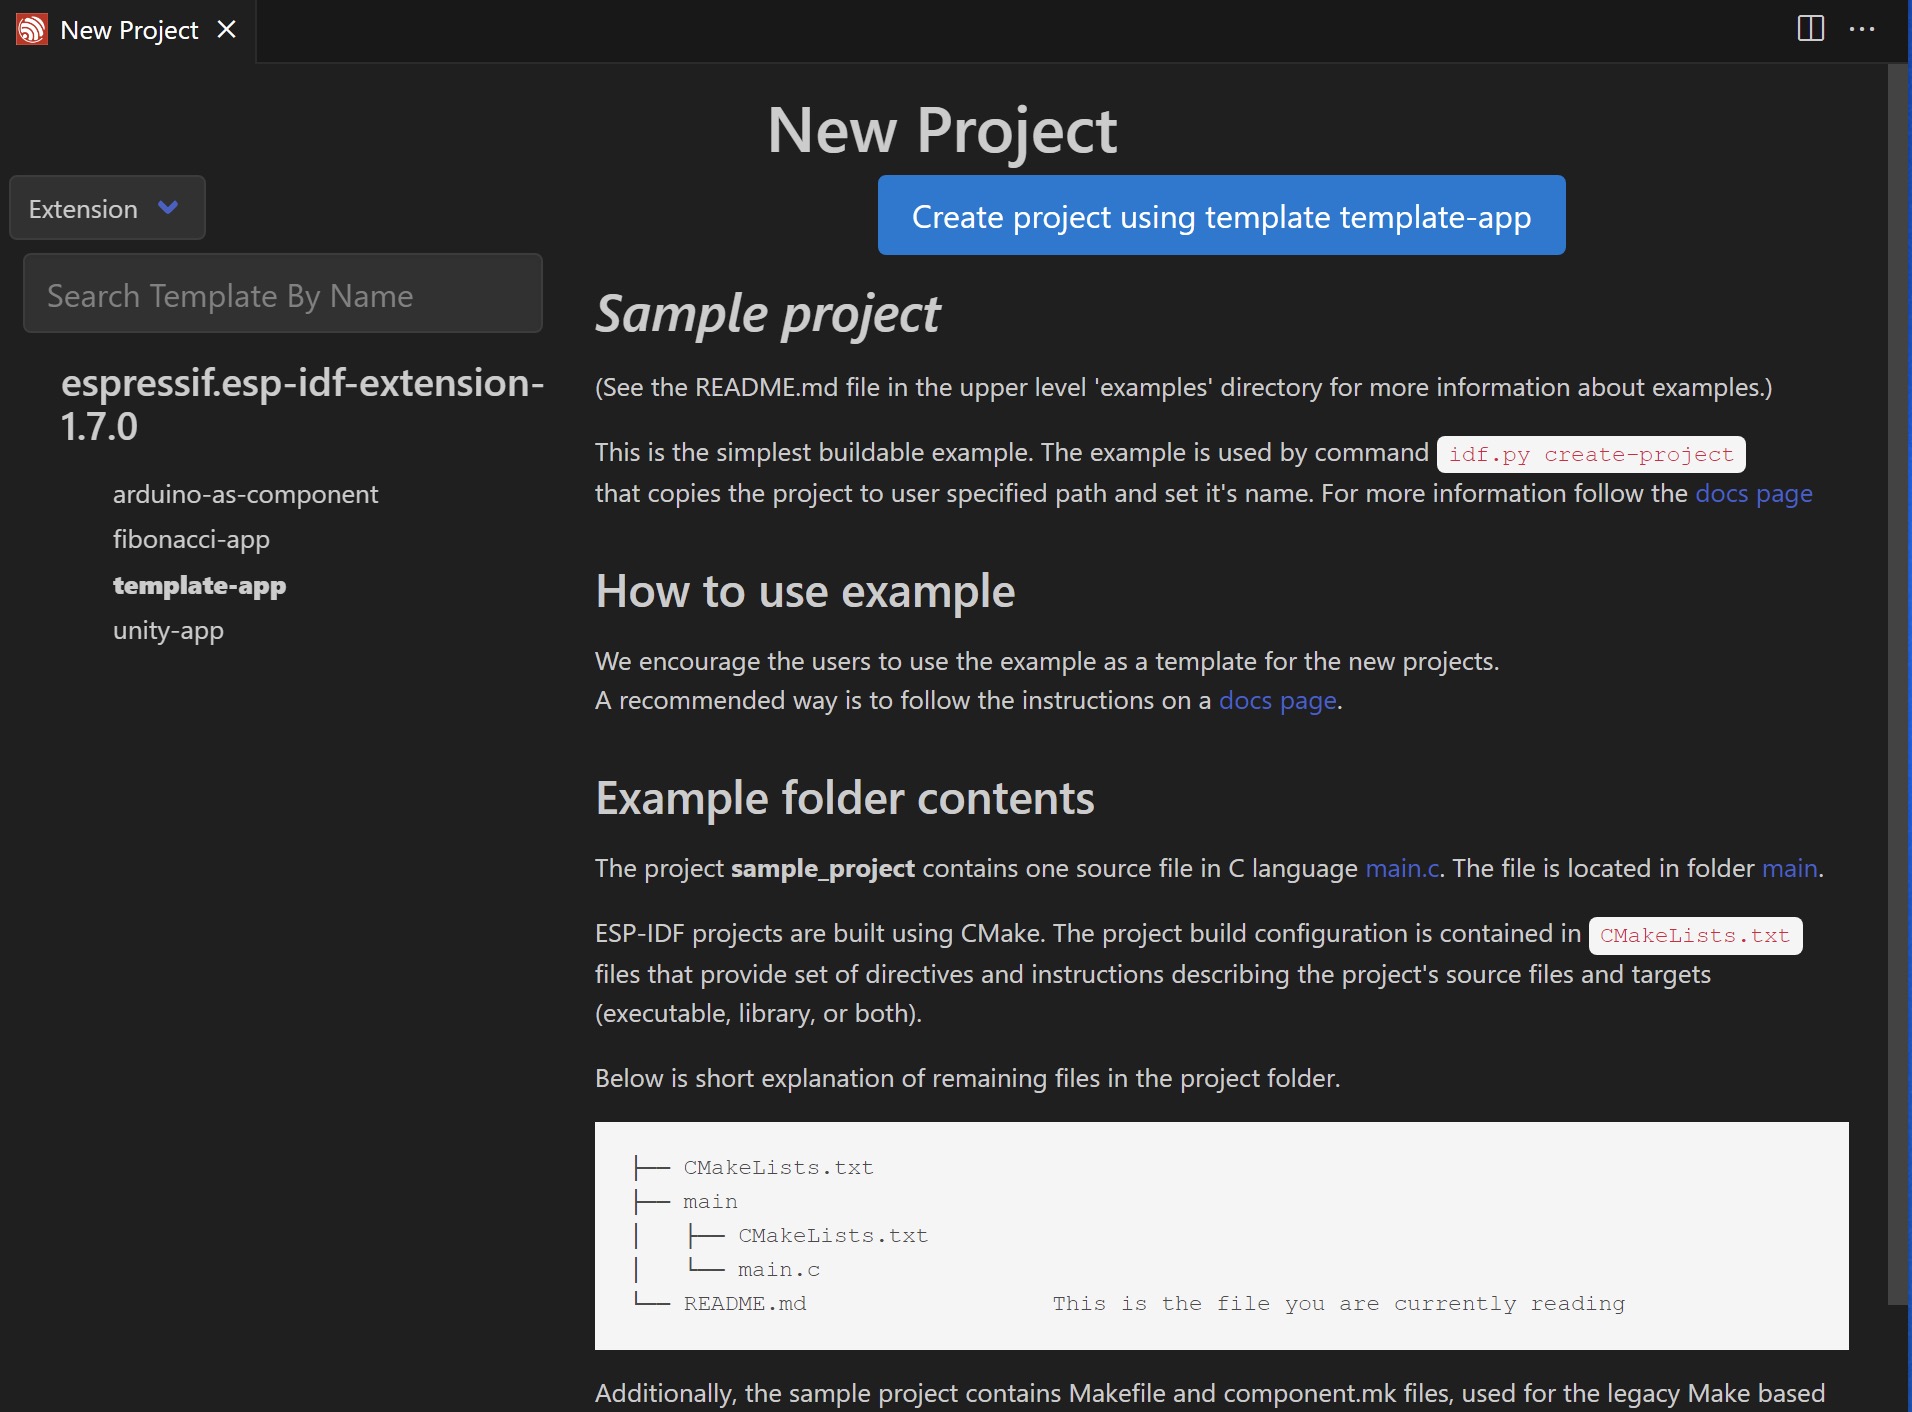
After clicking "Choose Template", you can see the following screen and select "template-app".
Click "Create project using template template-app".
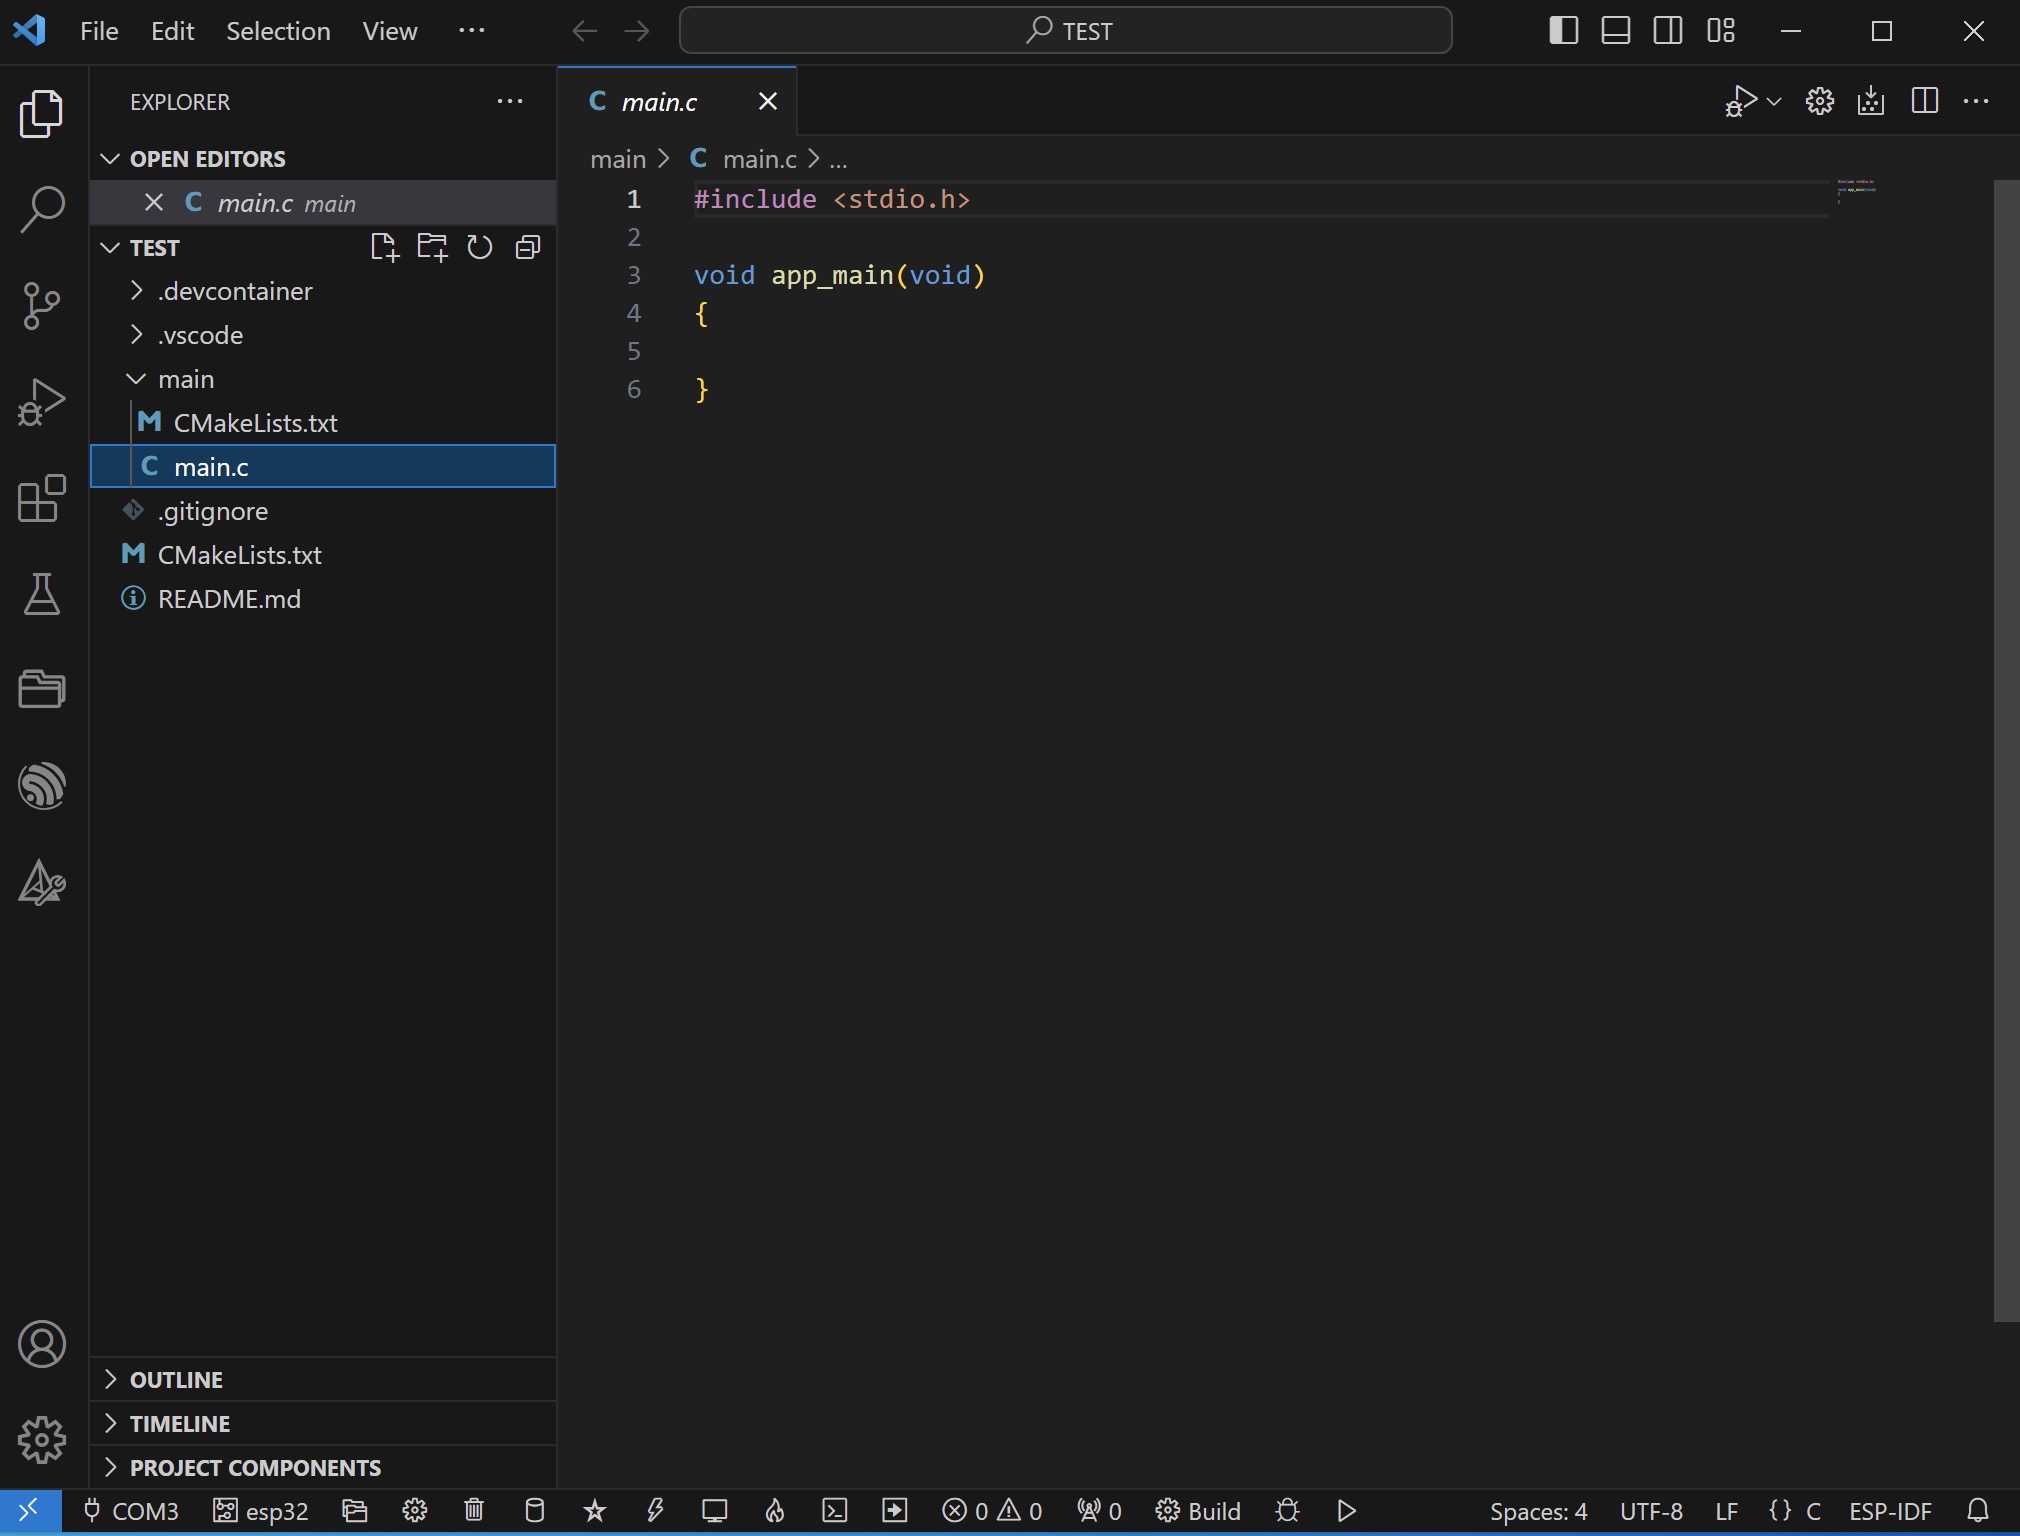
main.c
After you finish creating the project, you can open the "main.c" code.
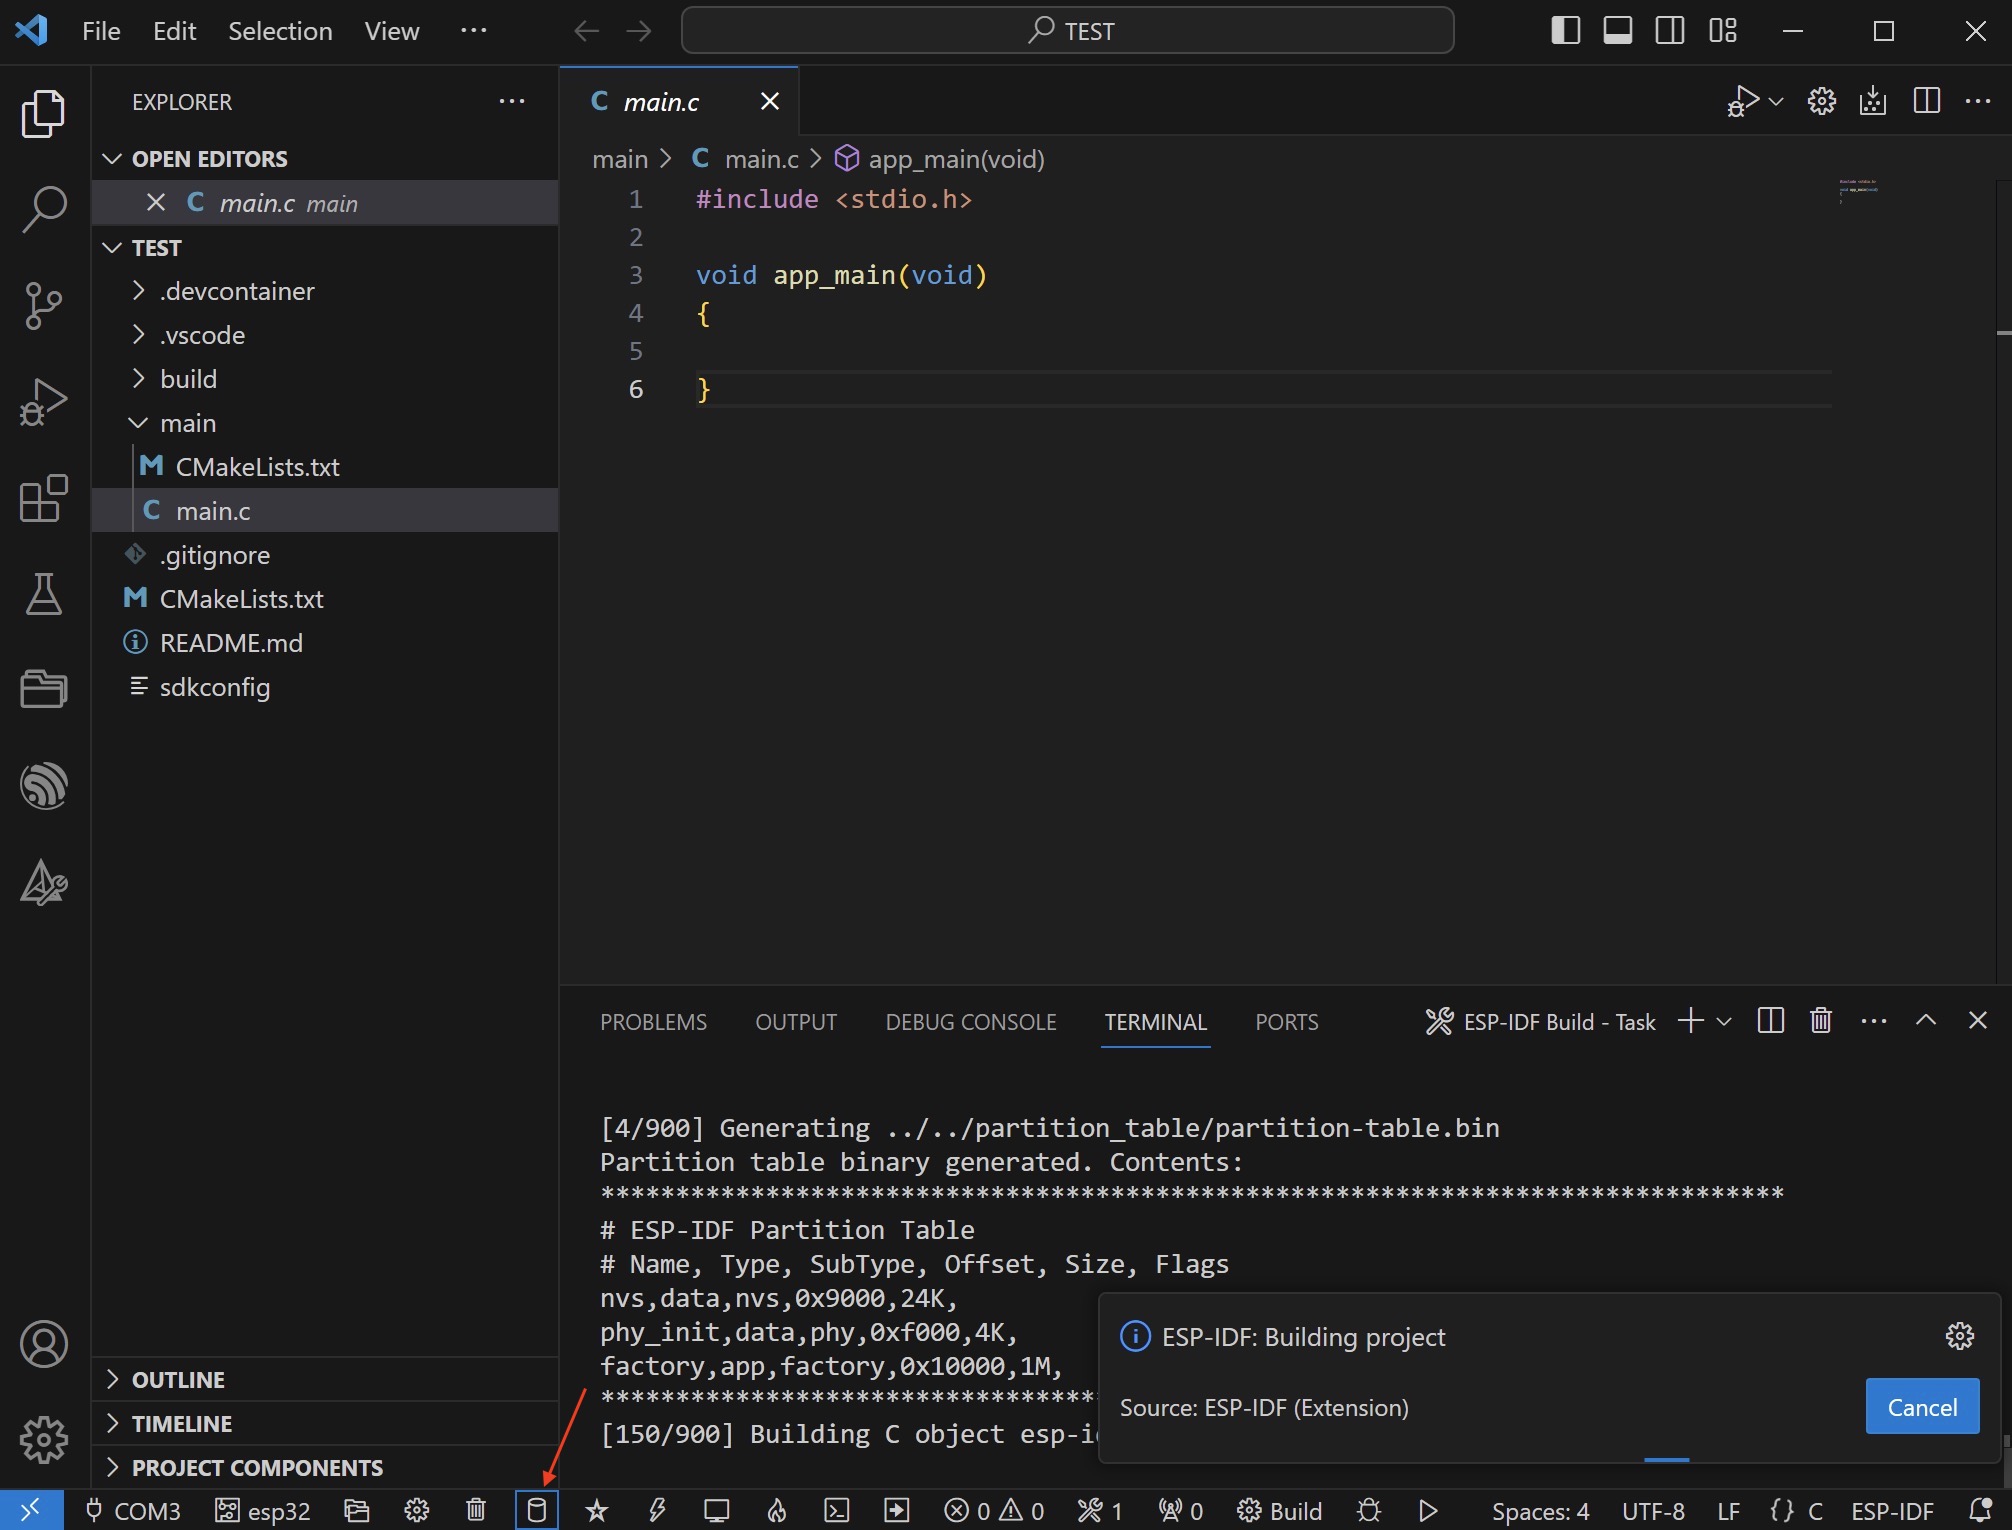
You can click "Build Project" to perform compilation.
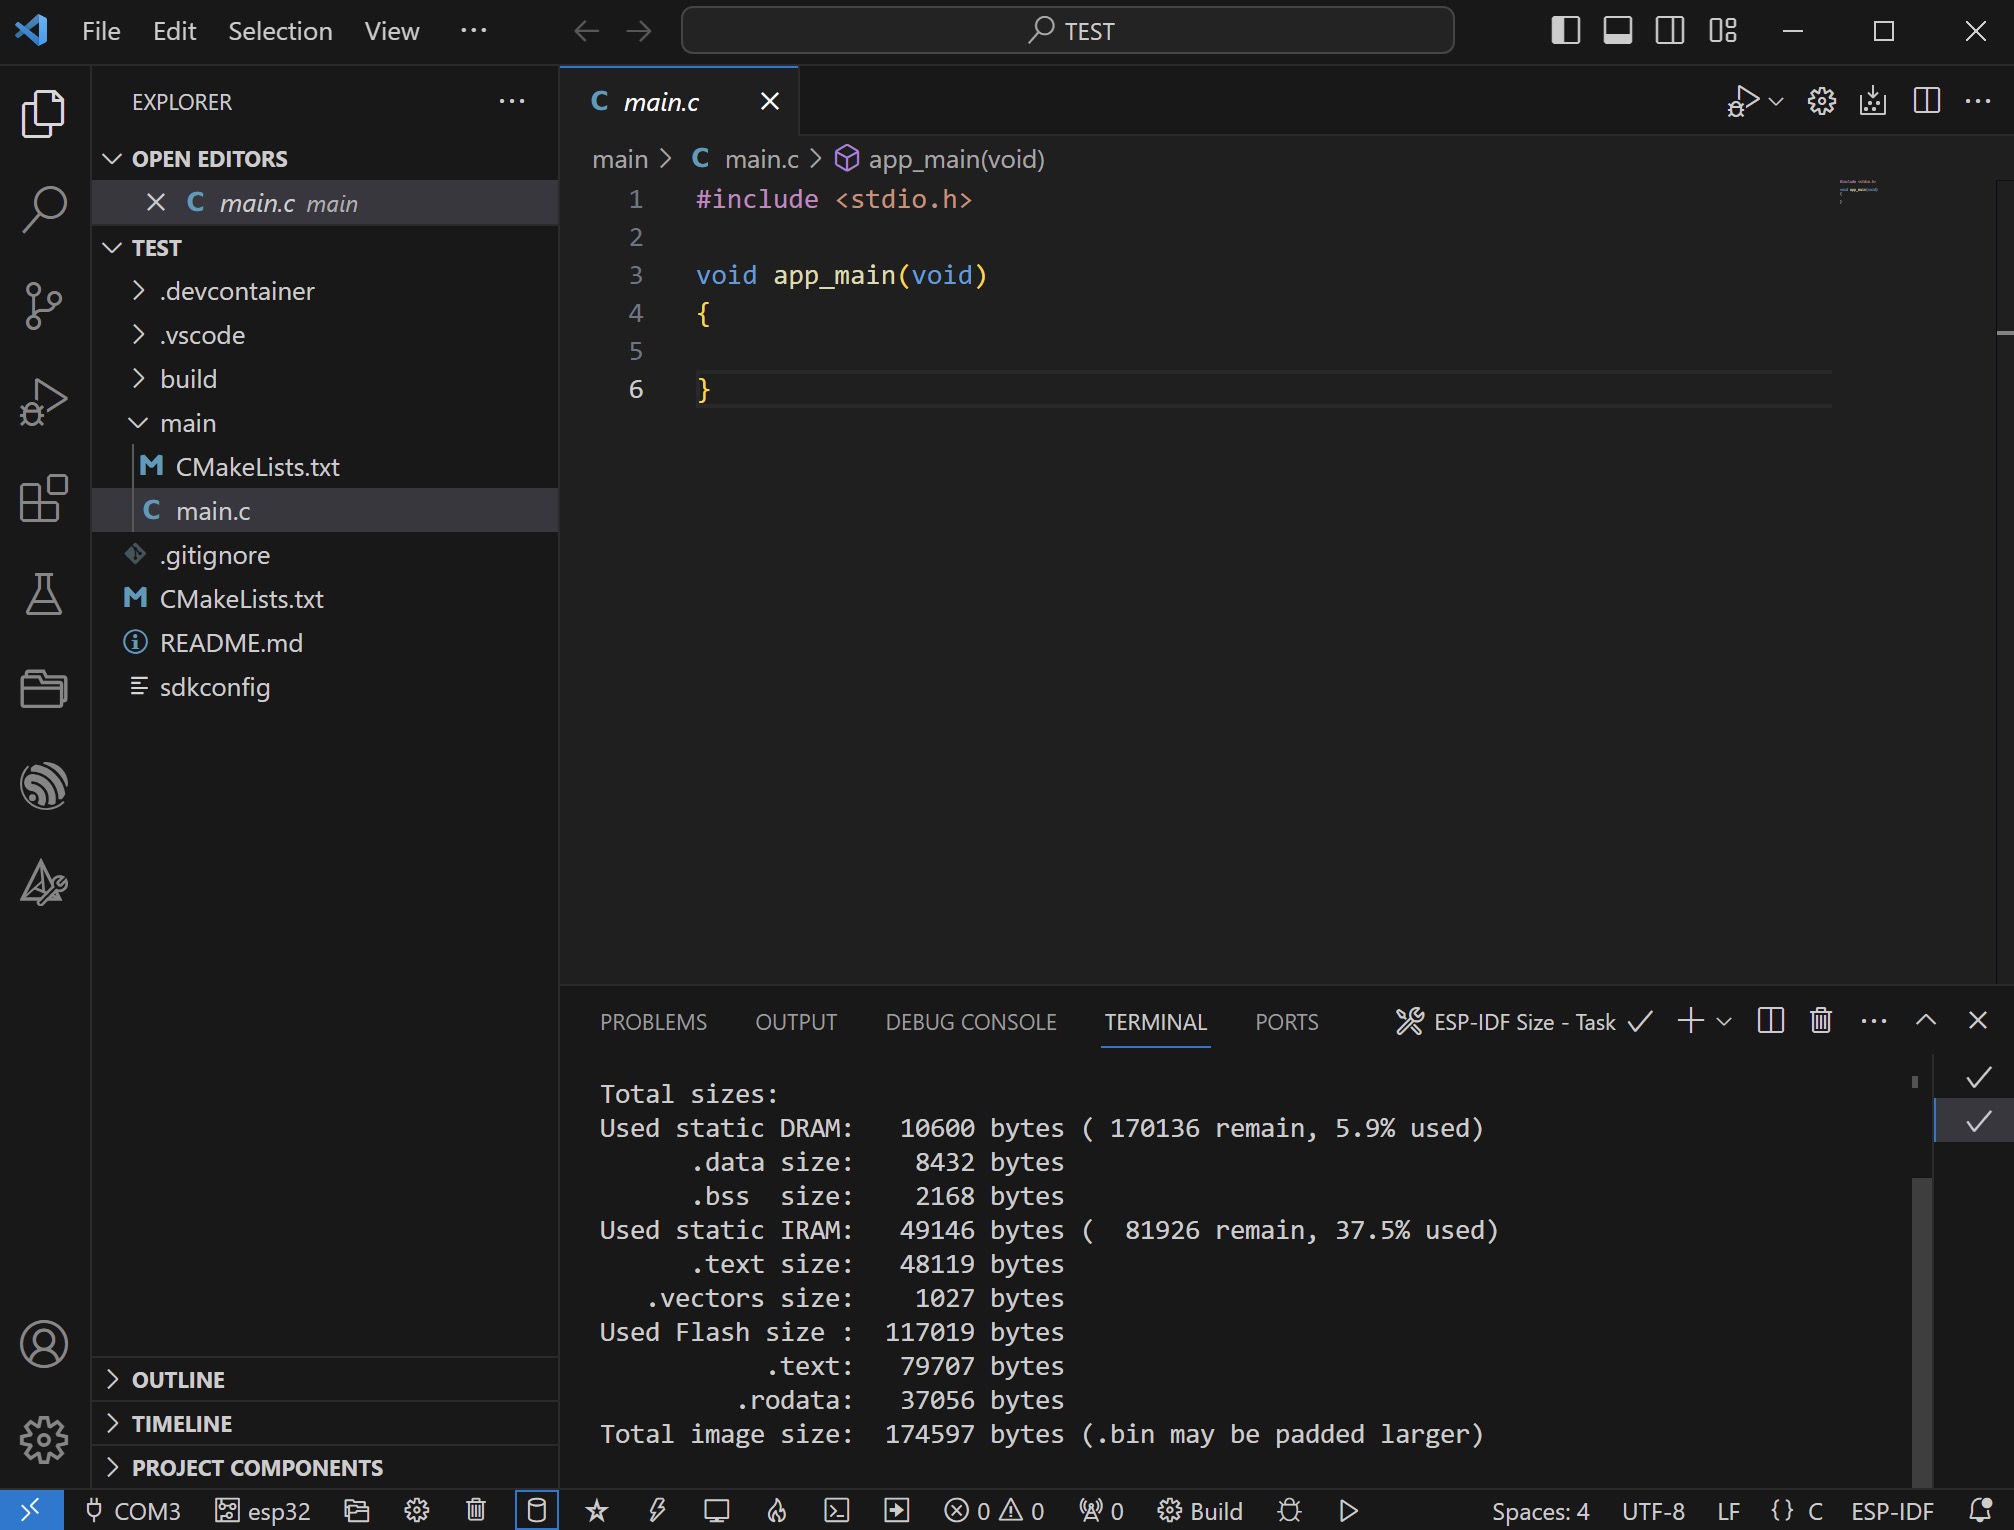
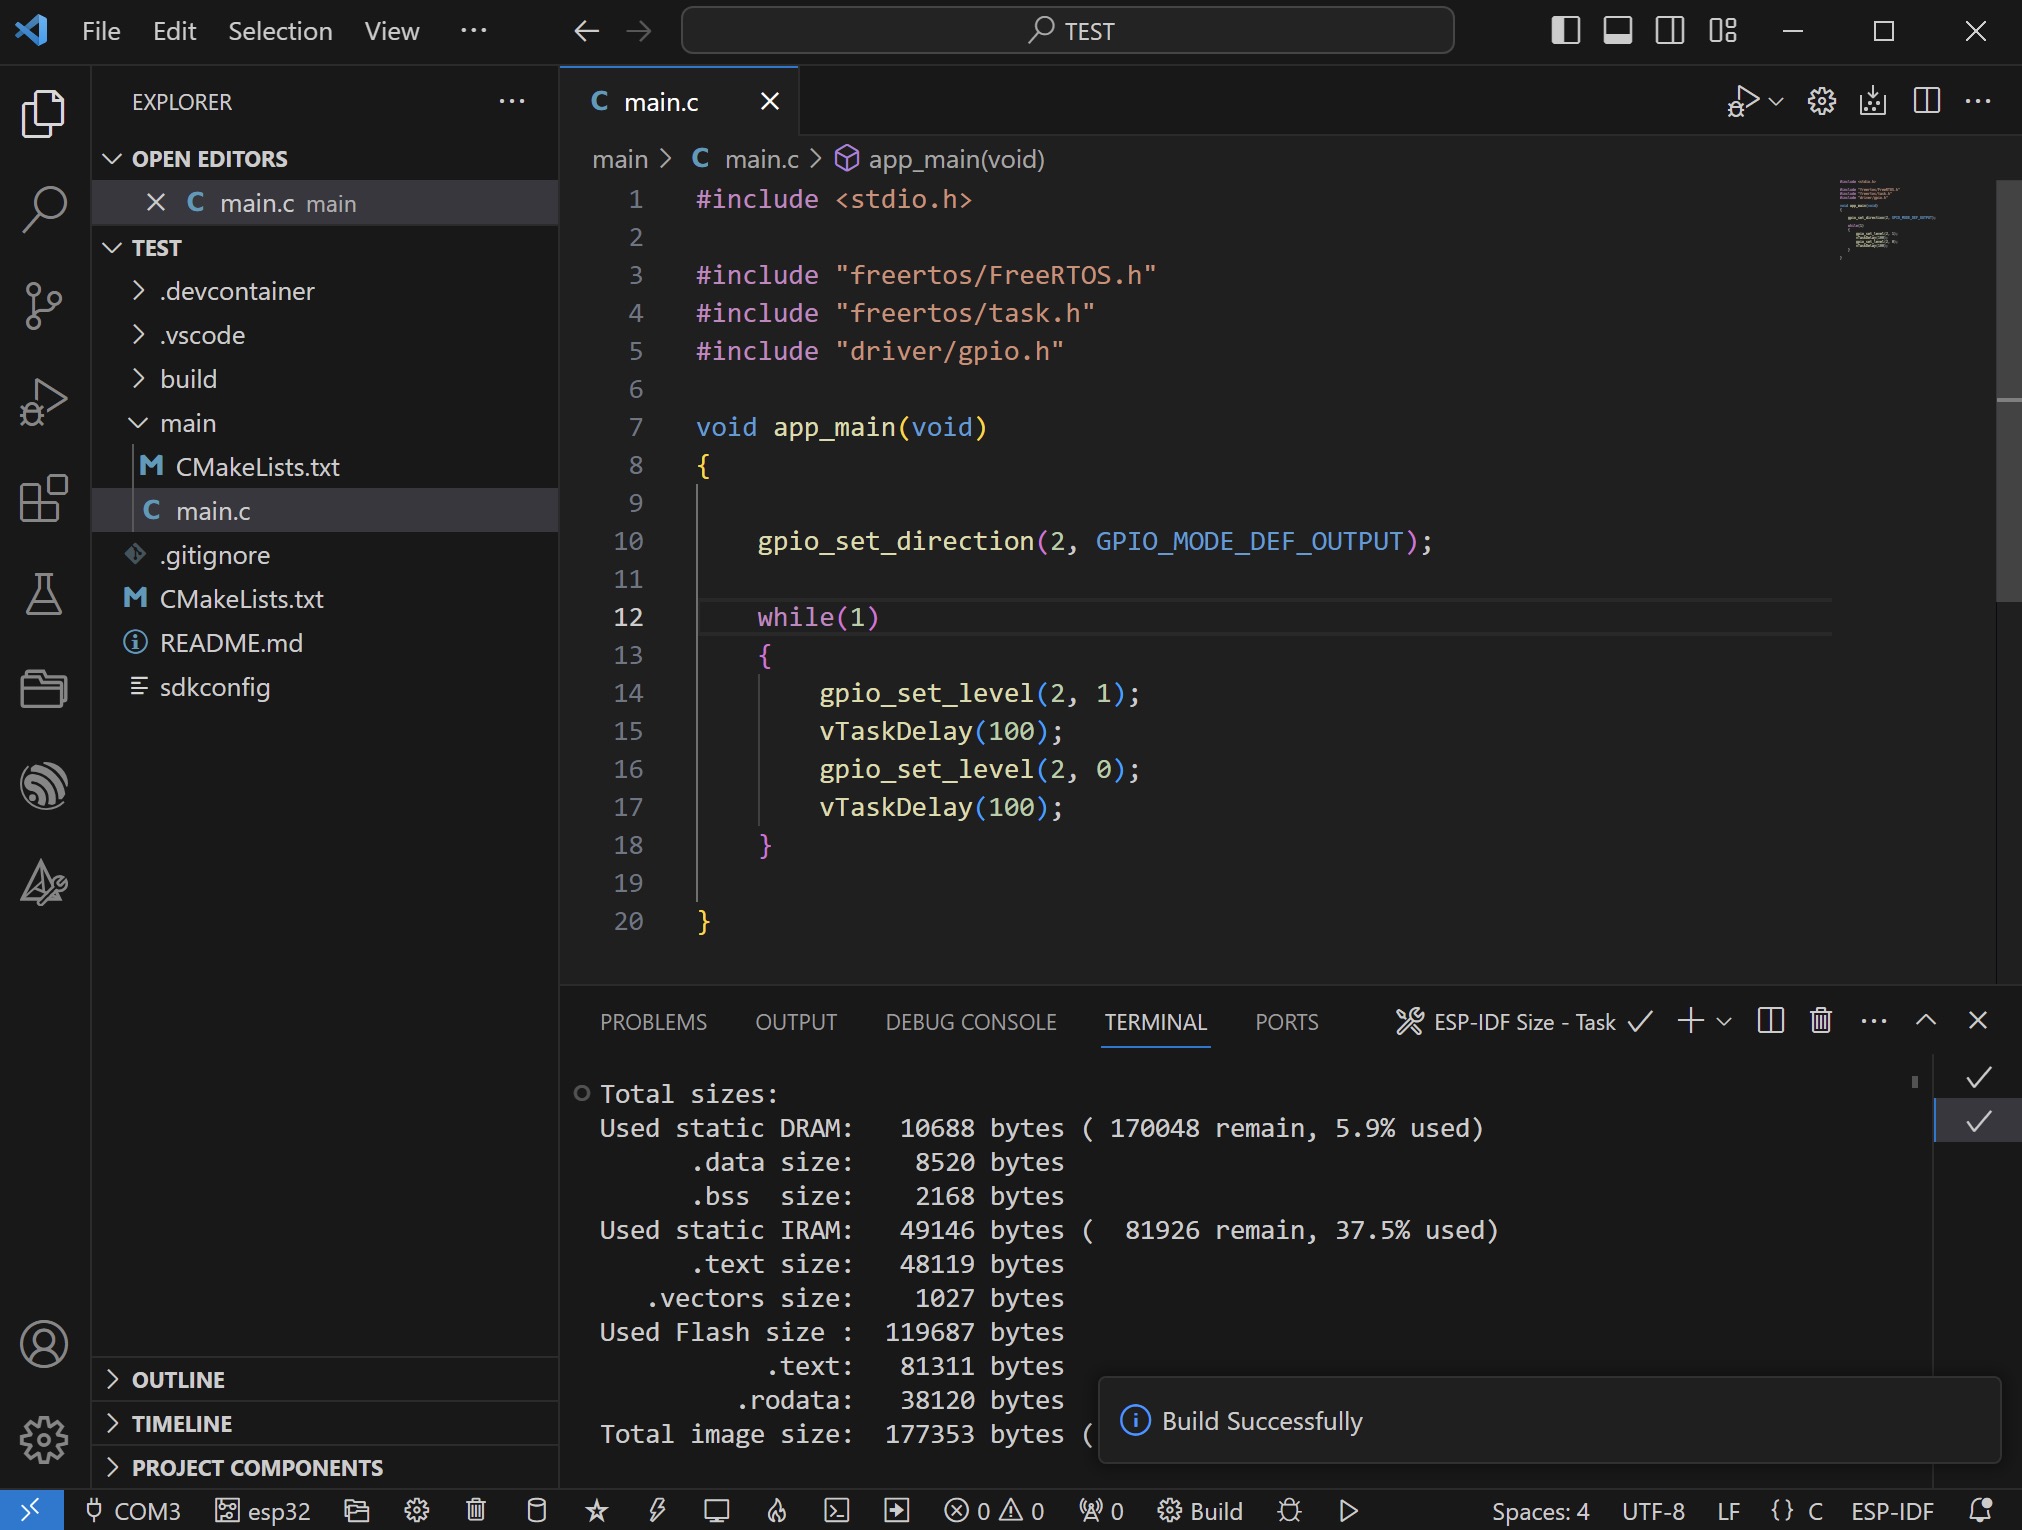
Completed as shown below.
Add some code
Add your own code as shown below...
#include <stdio.h>

#include "freertos/FreeRTOS.h"
#include "freertos/task.h"
#include "driver/gpio.h"

void app_main(void)
{

    gpio_set_direction(2, GPIO_MODE_DEF_OUTPUT);

    while(1)
    {
        gpio_set_level(2, 1);
        vTaskDelay(100);
        gpio_set_level(2, 0);
        vTaskDelay(100);
    }

}
Compile again.
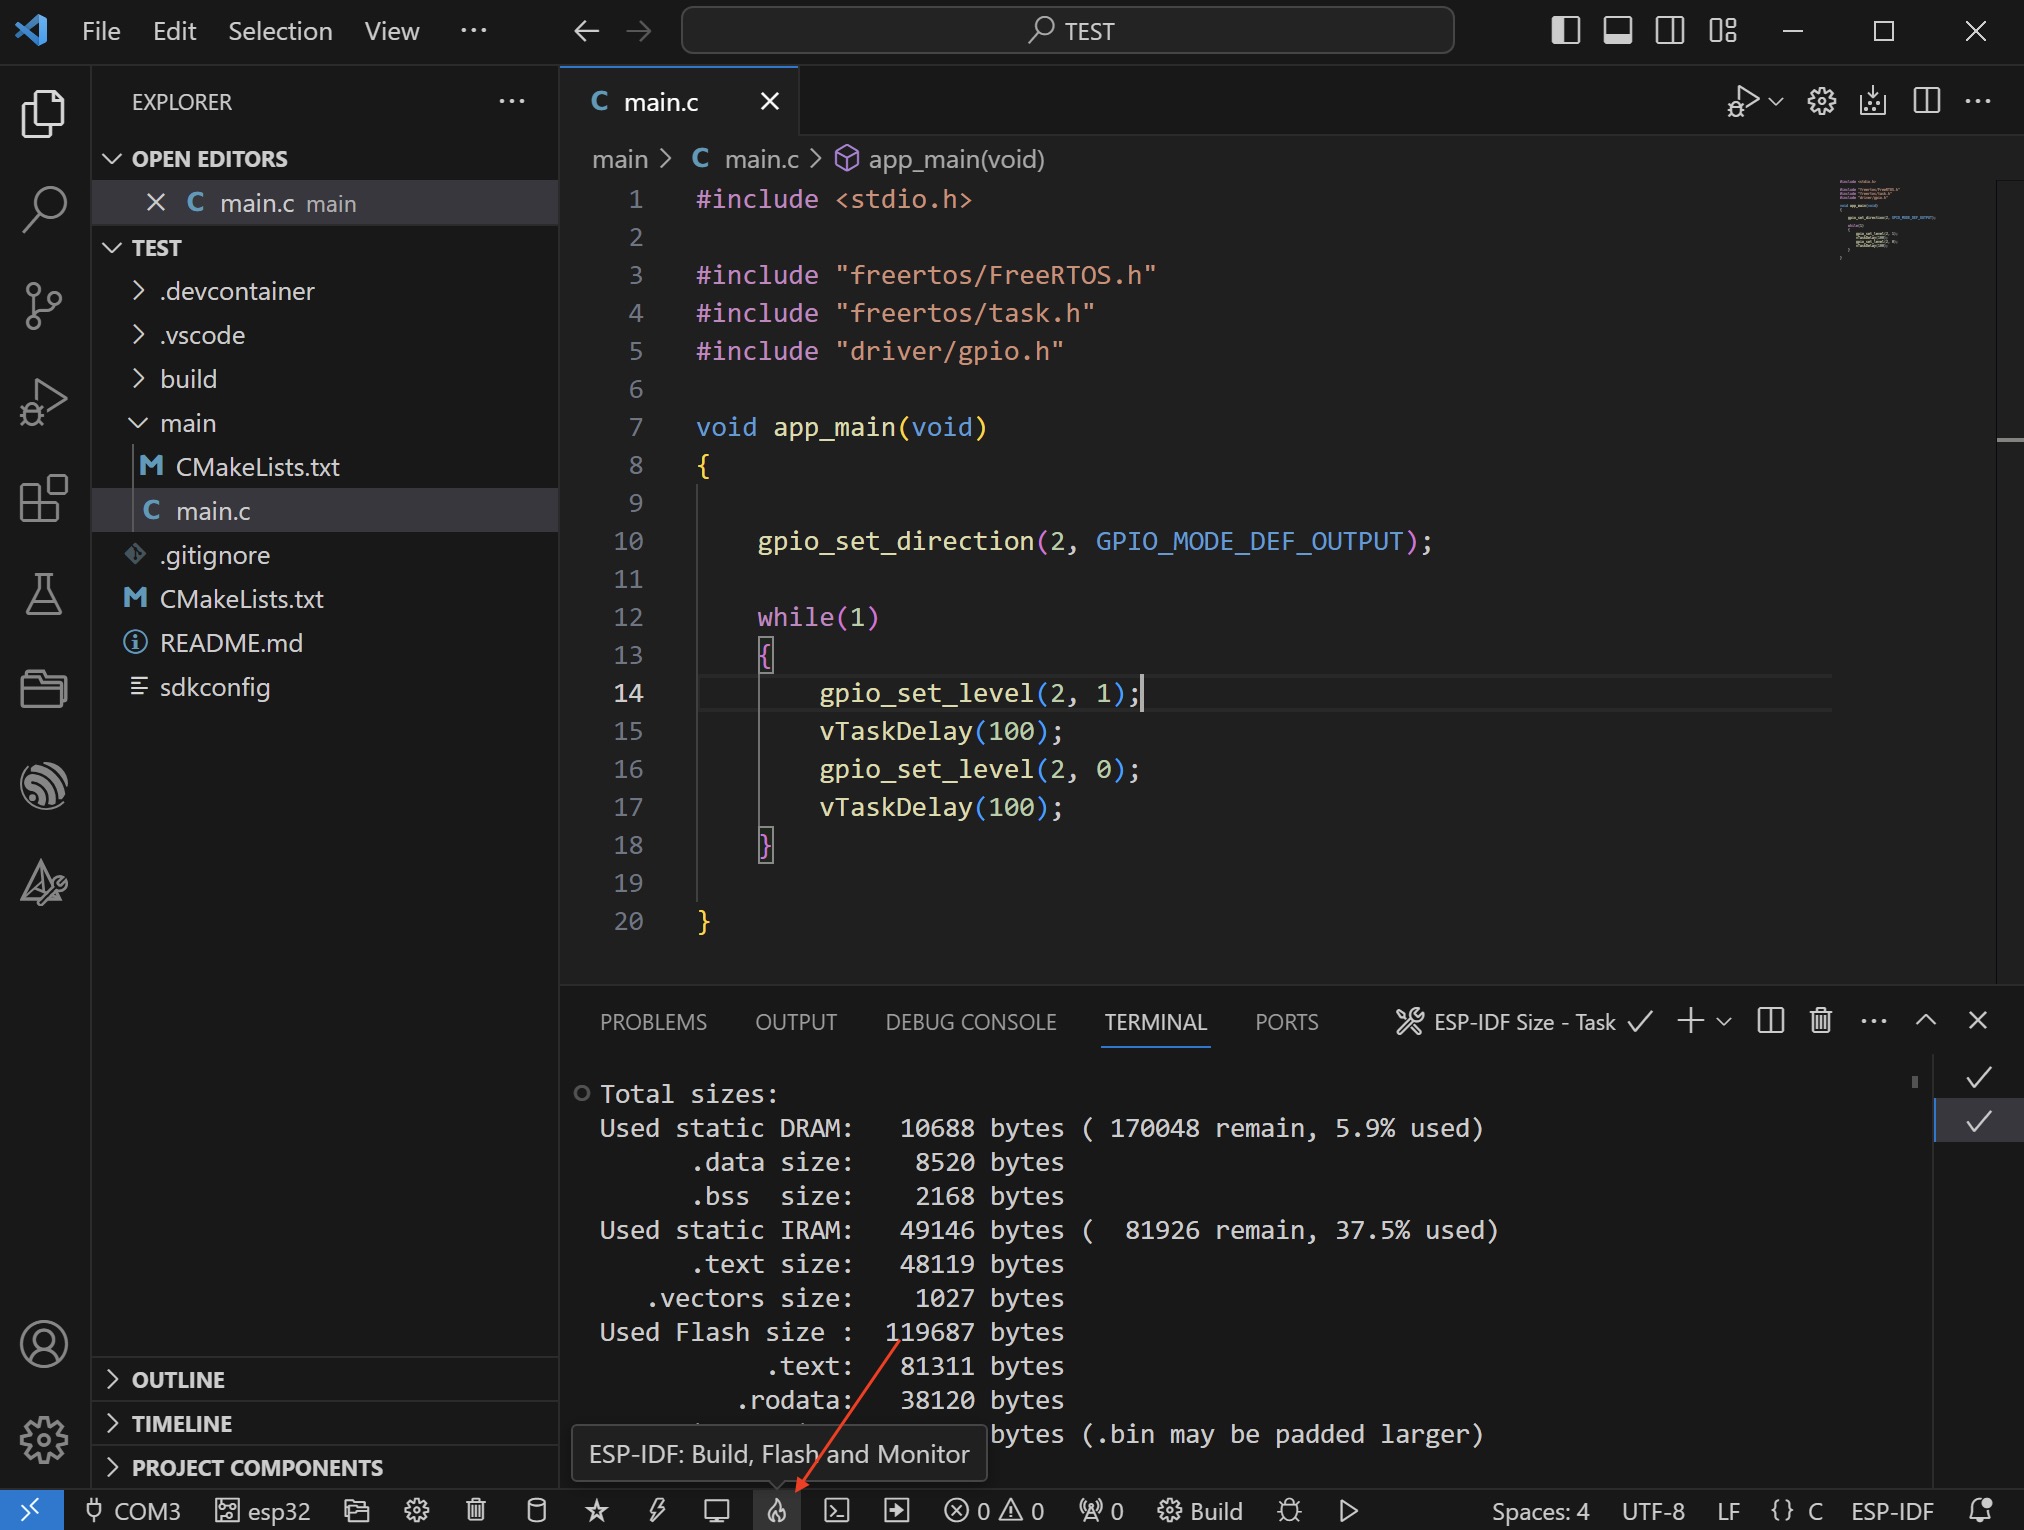
If the relevant ESP32 development board is already connected, you can directly select "Build, Flash and Monitor" and verify the results on the development board.
Conclusion
Through the above steps, you will quickly use VSCode and ESP-IDF tools to establish a convenient and complete development environment. This allows you to focus more on the development of ESP-IDF without being affected by the establishment of the entire development environment. Make sure you have set up ESP-IDF and VSCode correctly. You can also refer to official and website resources.

