How To Import DXF File Into KiCad 7
Contents
Introduction
The main use of DXF files is to share and exchange graphics data between different CAD programs. Since it is an open standard, many CAD software supports the DXF format. This allows engineers to create drawings using different CAD tools and then export them as DXF files so that other engineers can open and modify them in their own CAD software.
In PCB design, DXF files are often used to provide a frame reference for the PCB. This includes board shape, connector location, mechanical mounting points, restricted areas, etc. By importing this information into PCB design tools via DXF, designers can ensure that the PCB is properly matched to external mechanical components, enclosures, etc.
Prepare a Dxf File
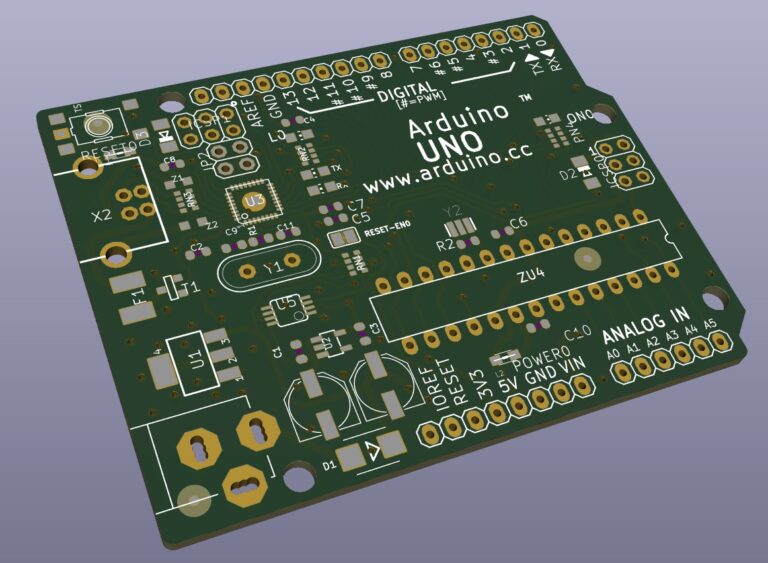
Prepare an ArduinoUno.dxf as a demonstration file.
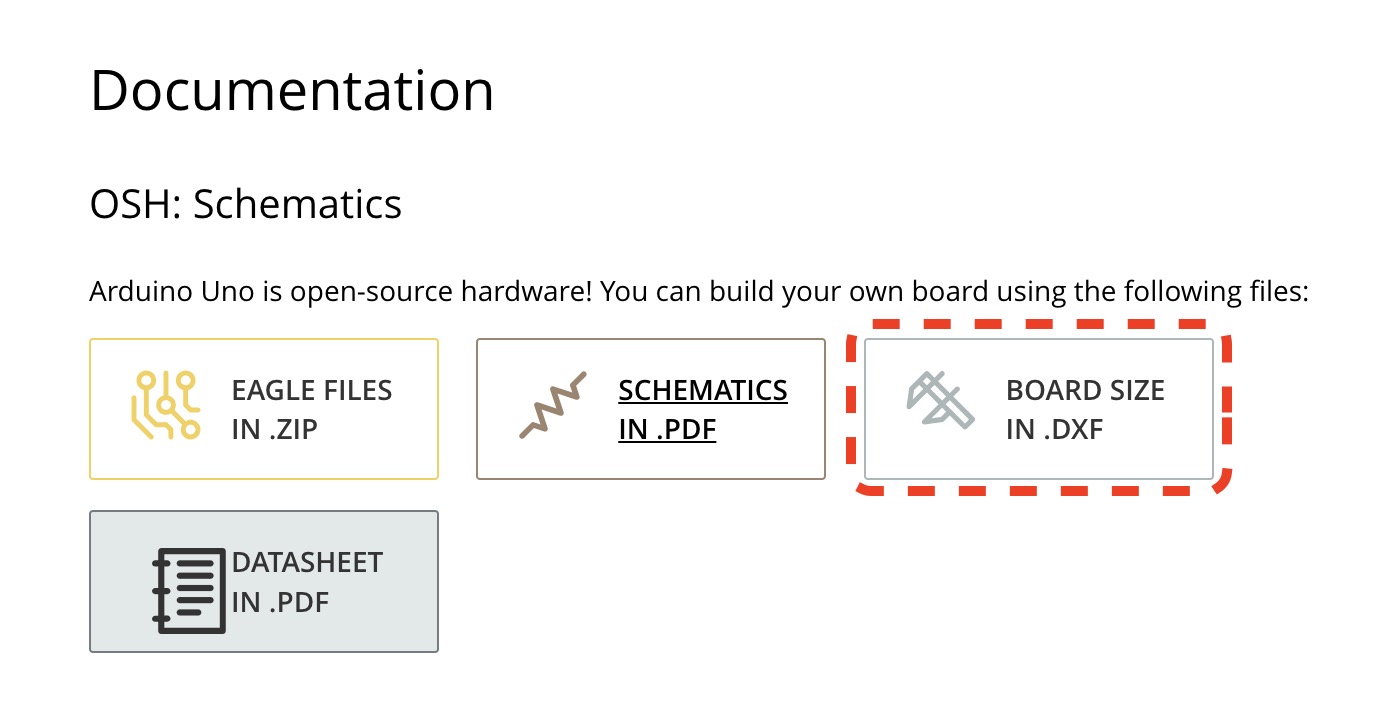
Create a KiCad 7 Project
Launch KiCad 7 App and create a KiCad project named ArduinoUno as shown below...
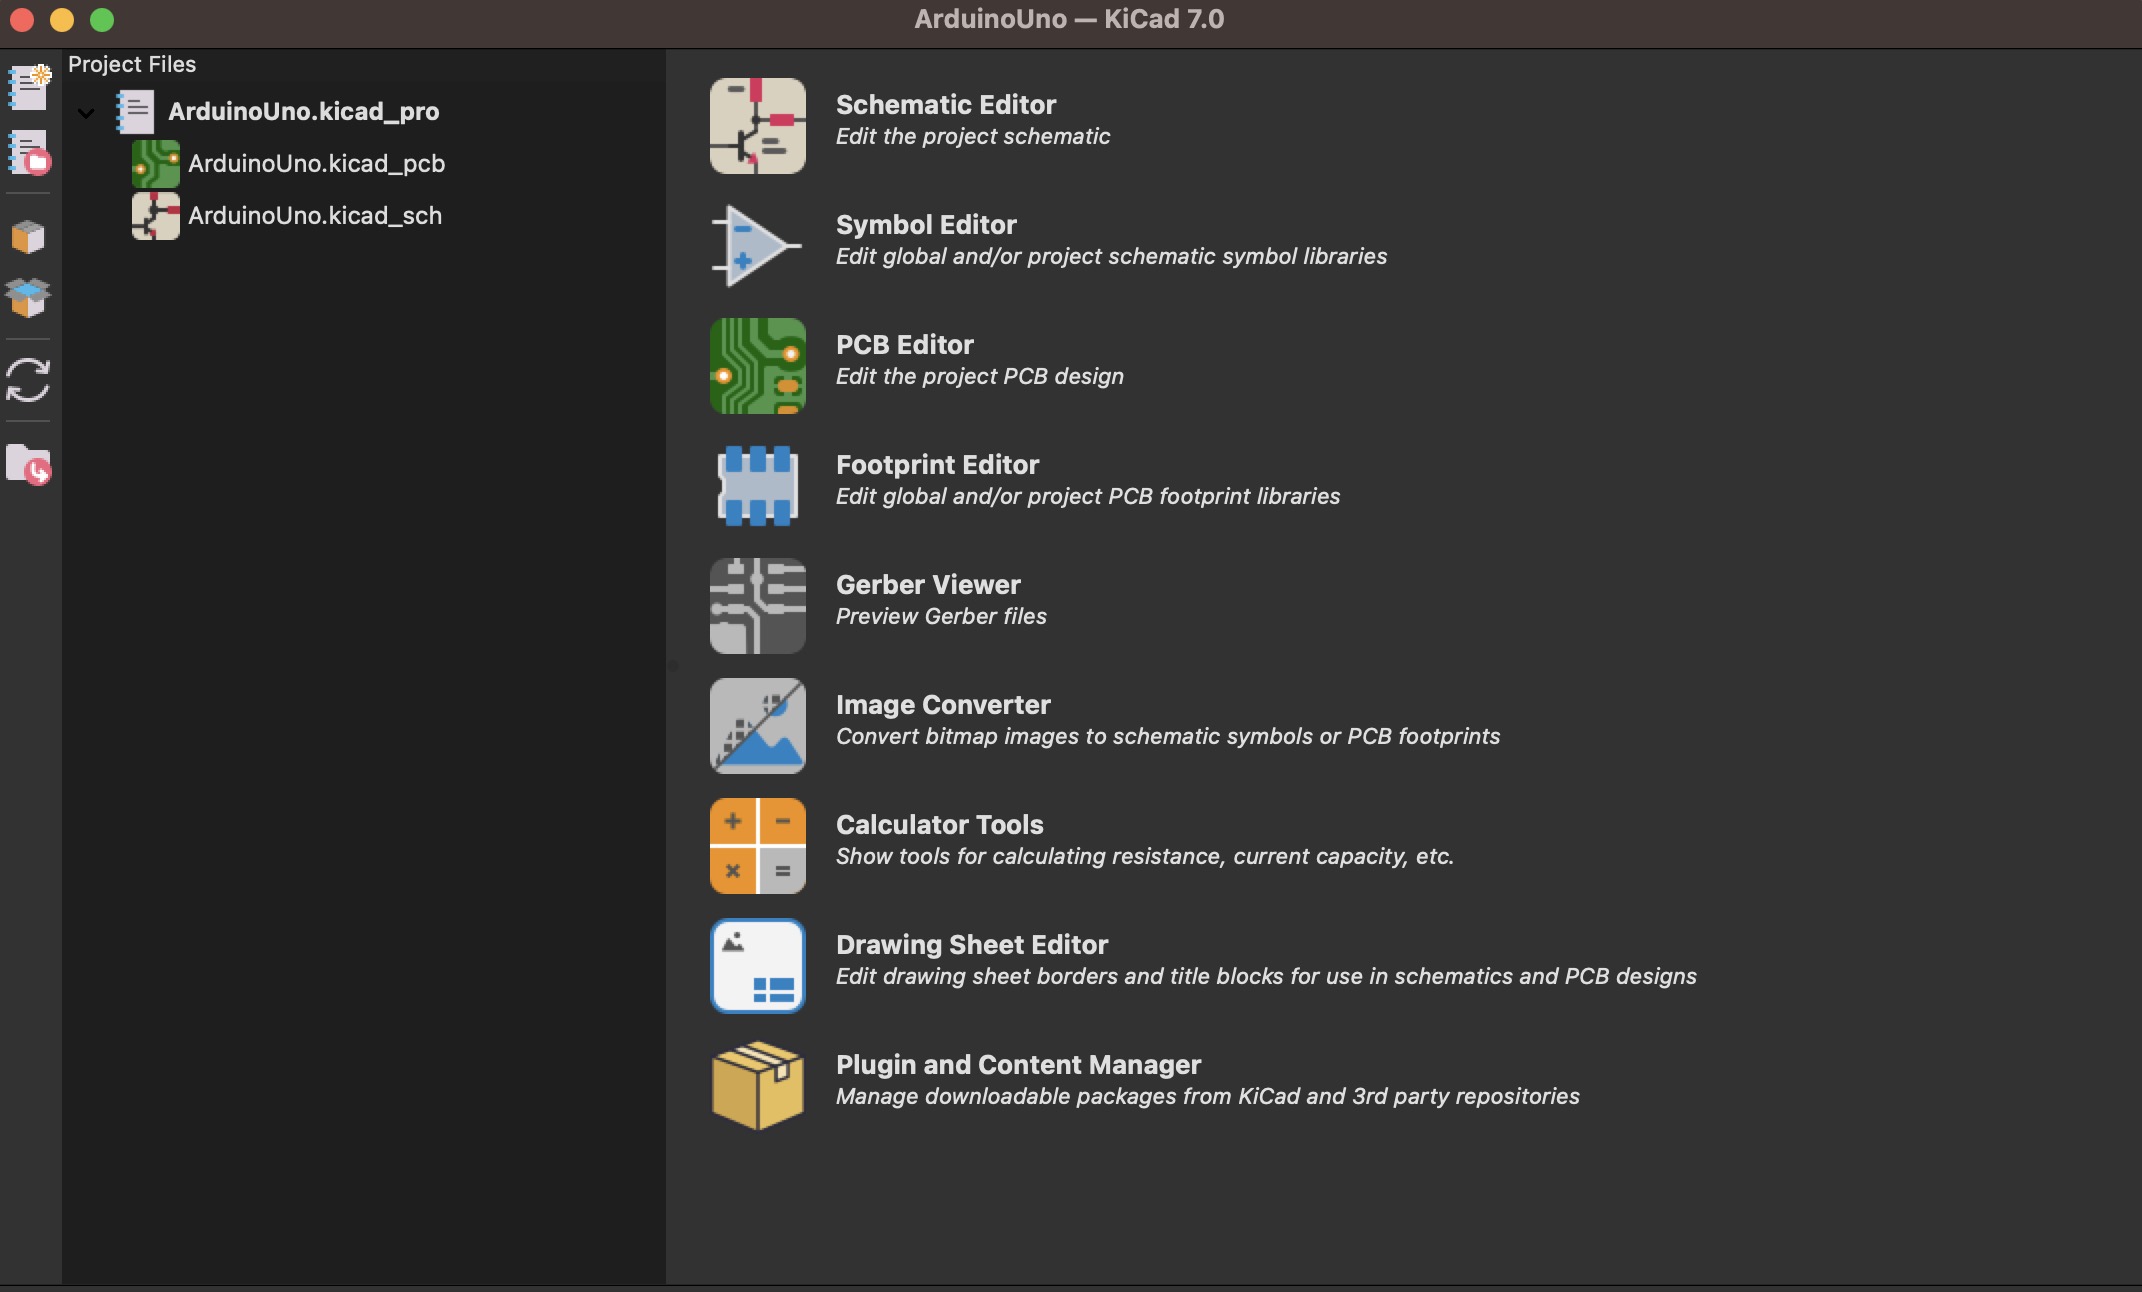
Run PCB Editor
Click ArduinoUno.kicad_pcb and select File ▷ Import ▷ Graphics...
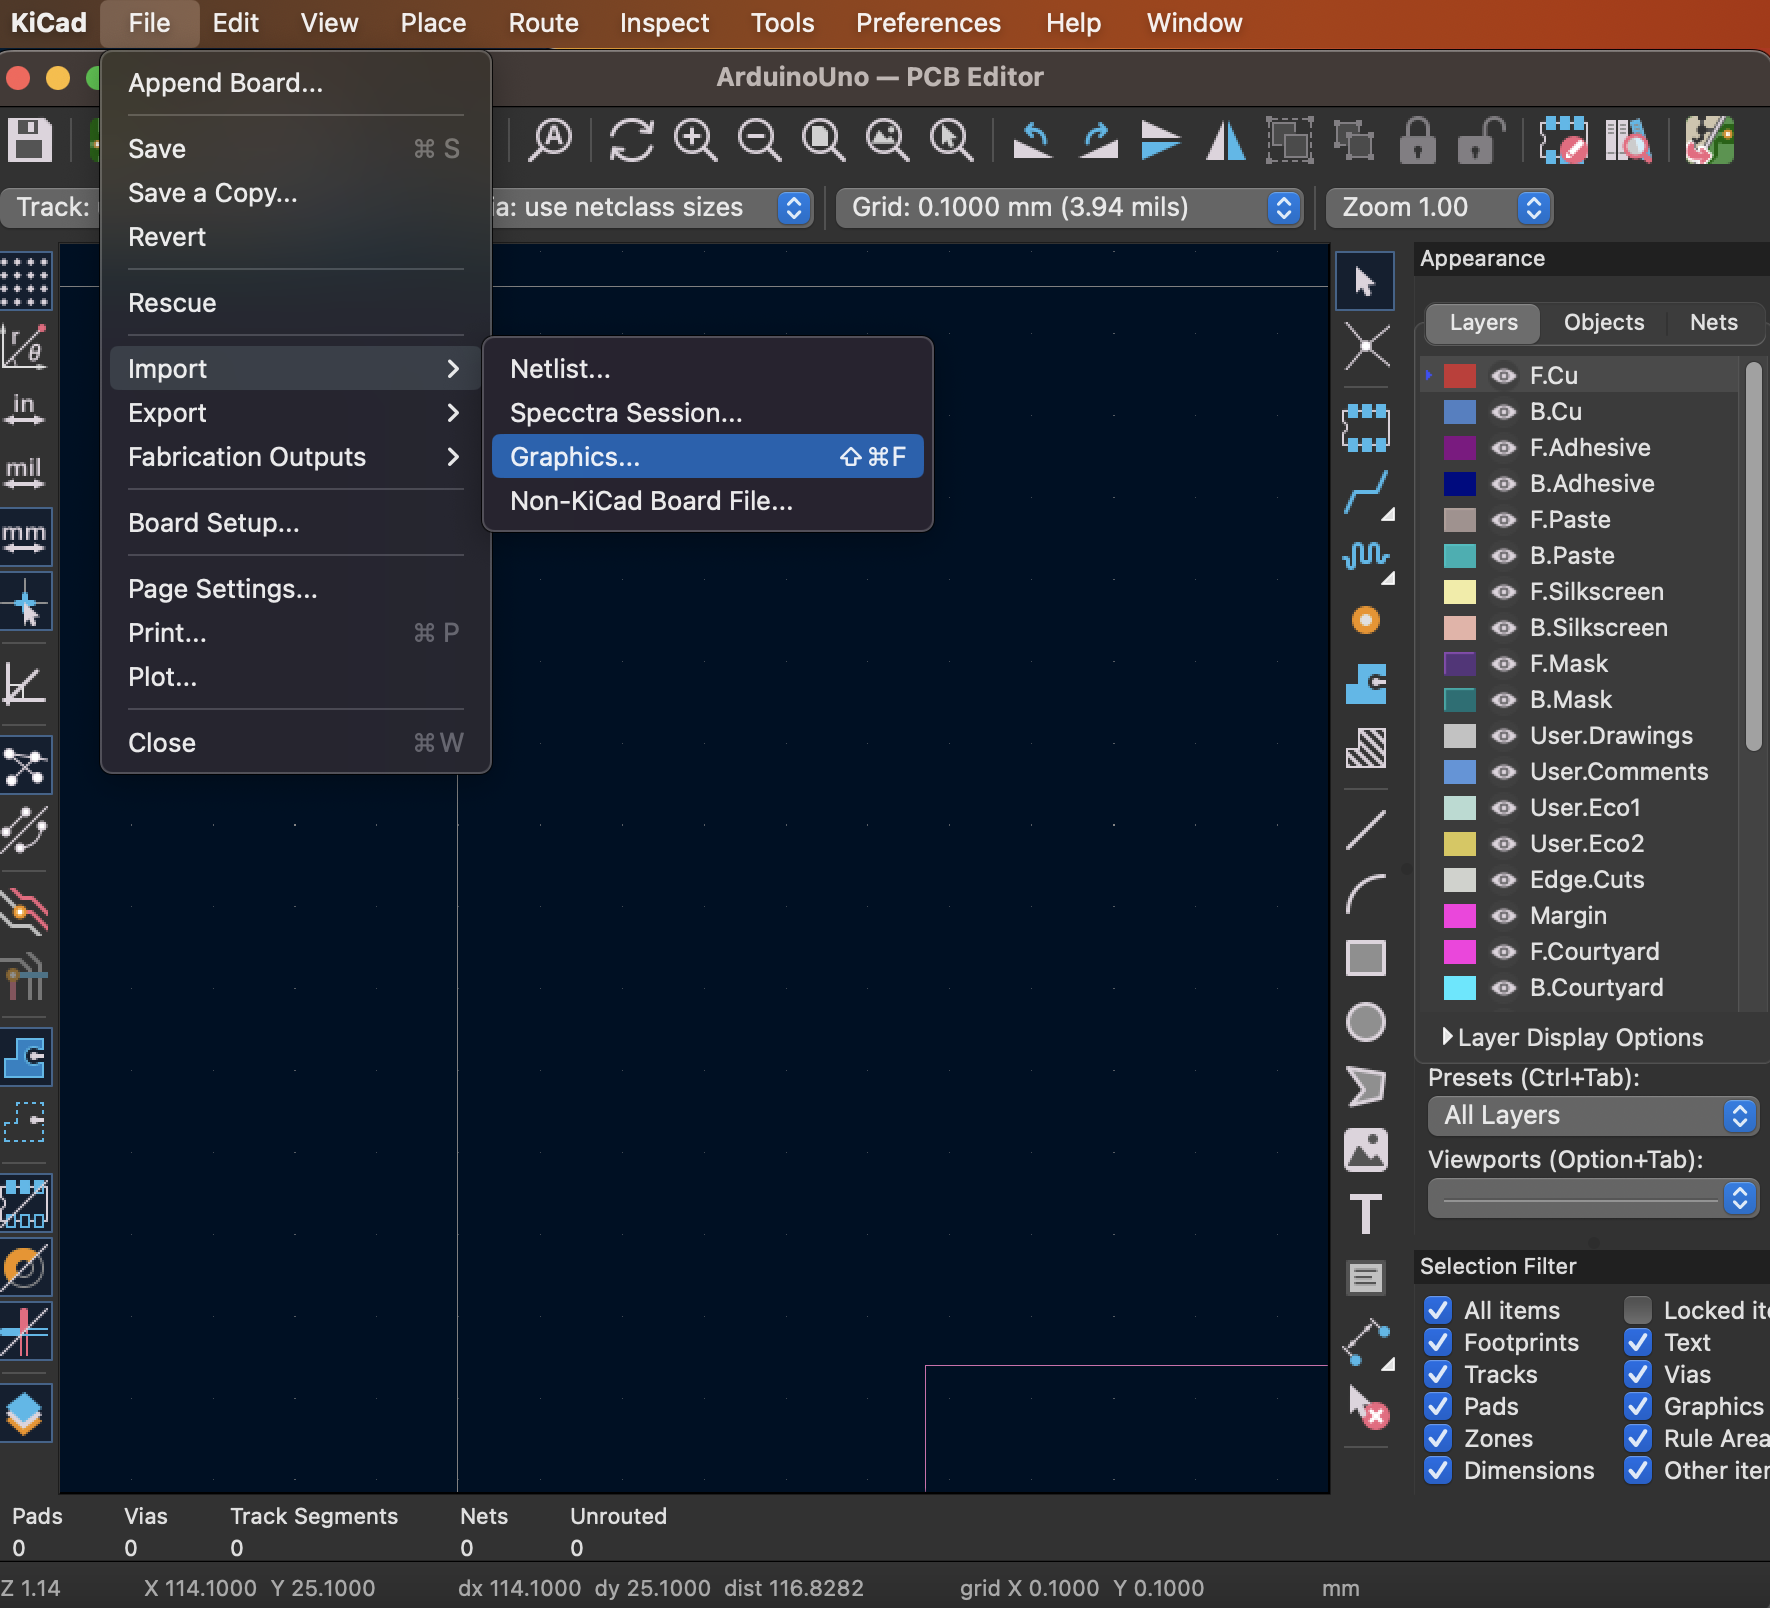
Select a *.dxf File
Click "Folder Icon" to select ArduinoUno.dxf and place it in the Edge.Cuts layer and uncheck Group items and click OK as shown below. Of course, you can also make appropriate settings according to your own needs.
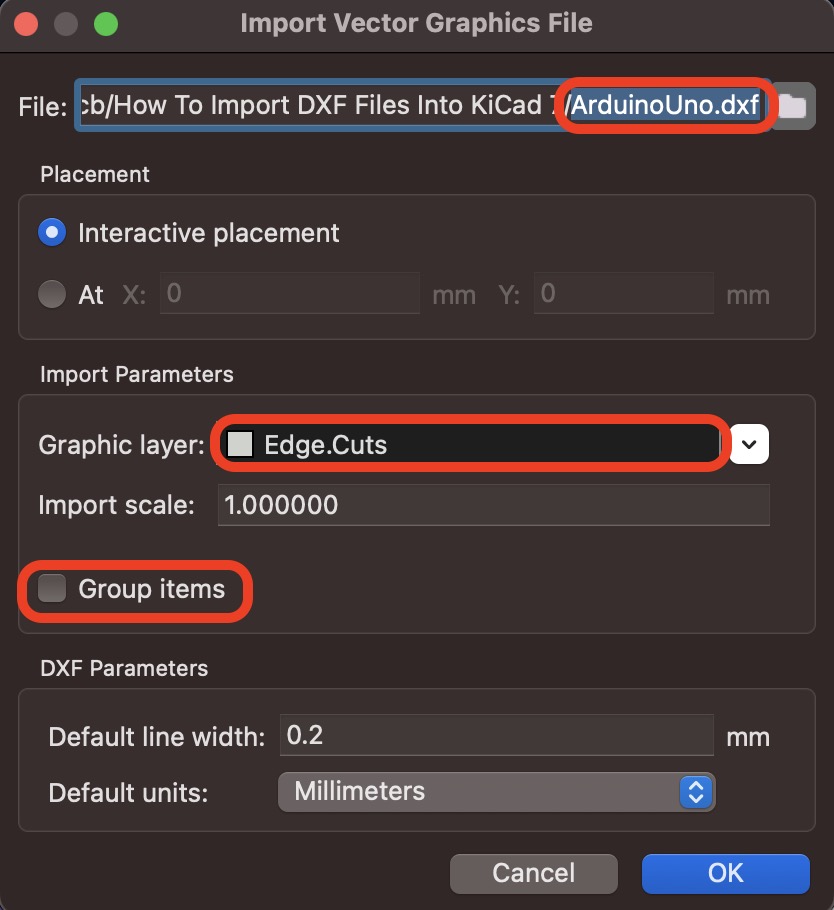
Import & Place
Once the import process is complete, you can choose an appropriate location to place the board outline and perform operations such as scaling, rotating, or moving.
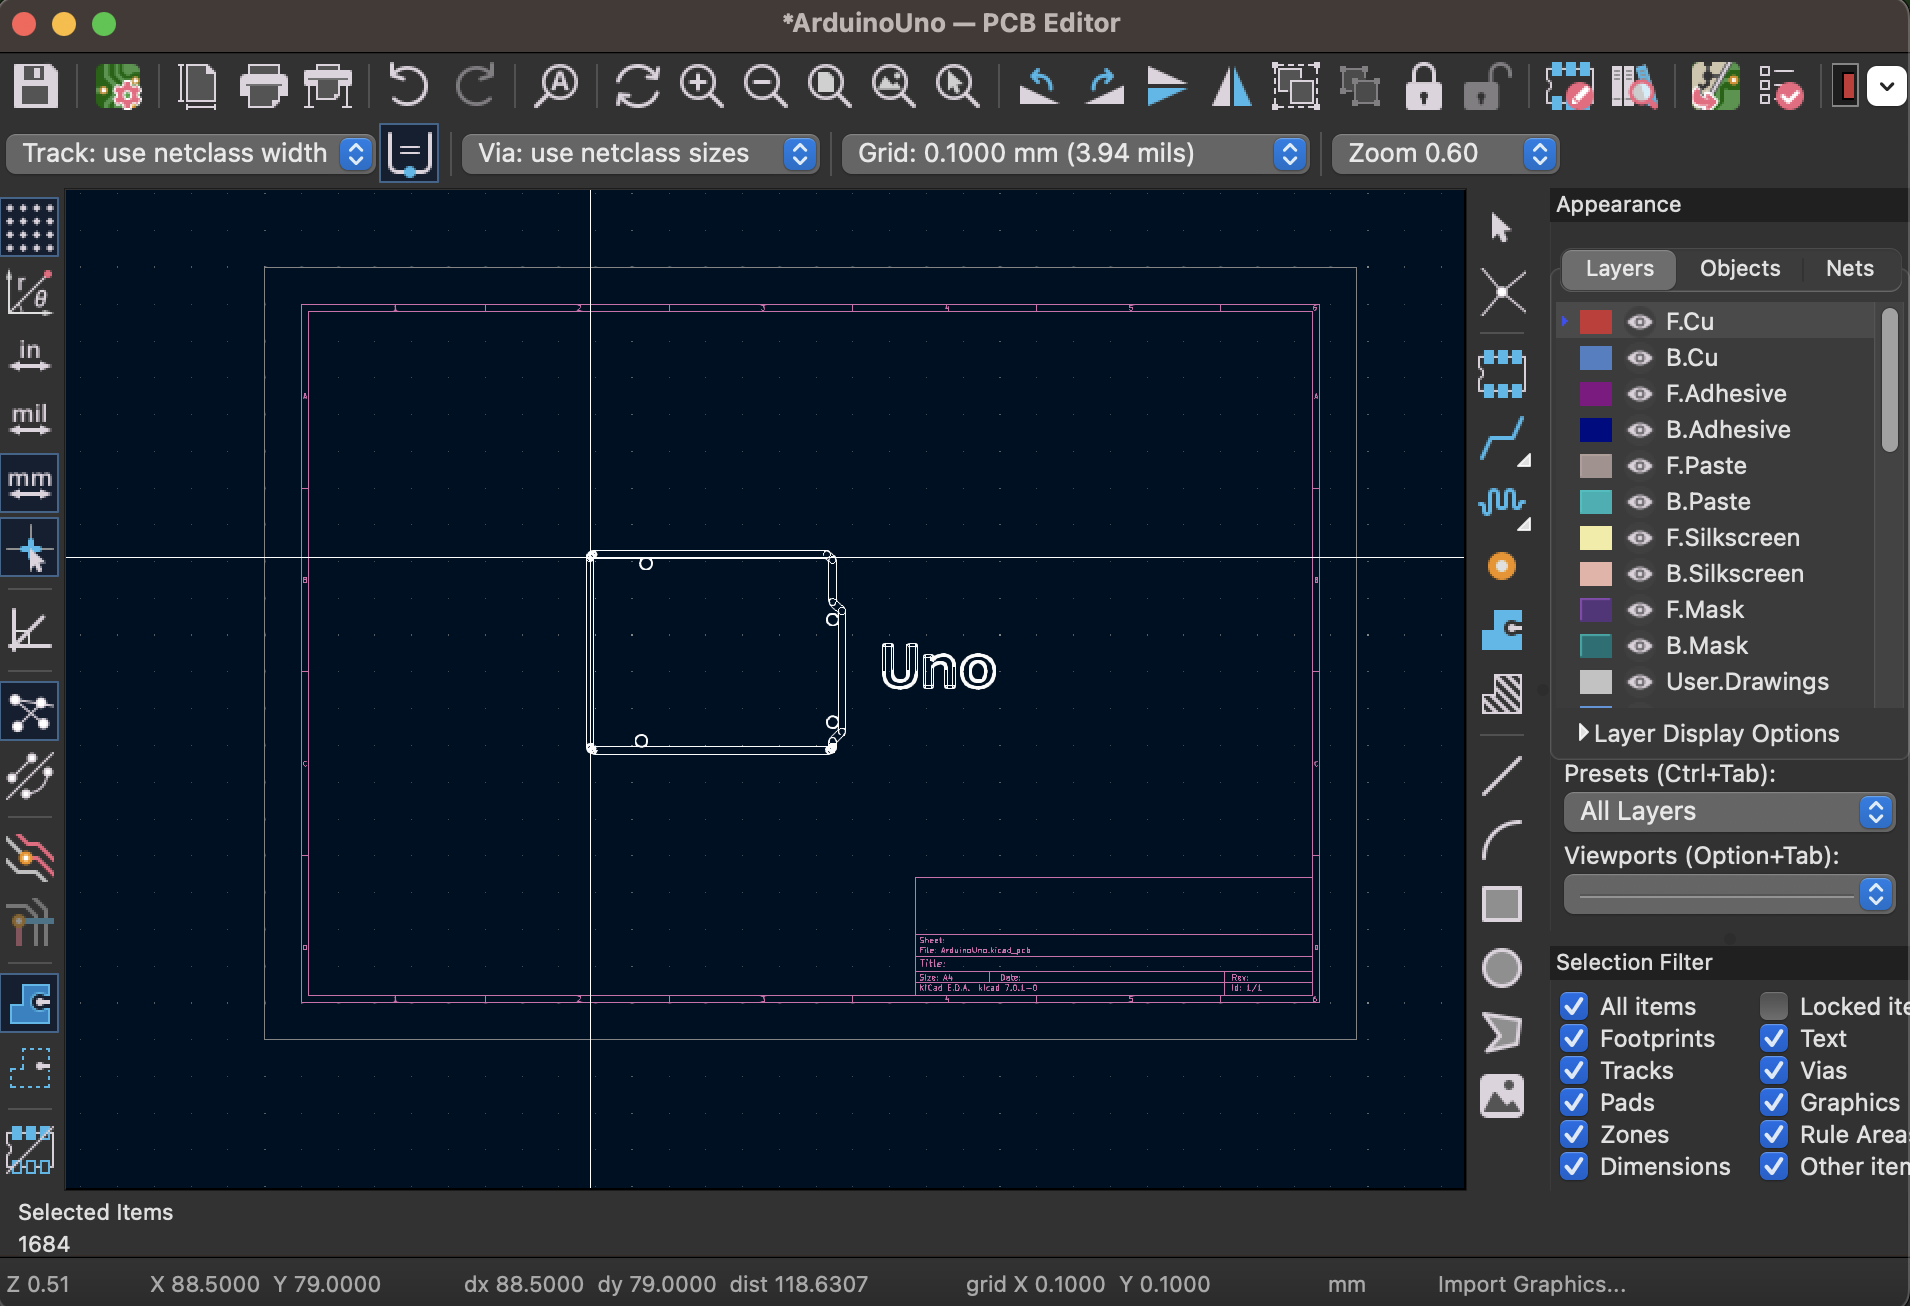
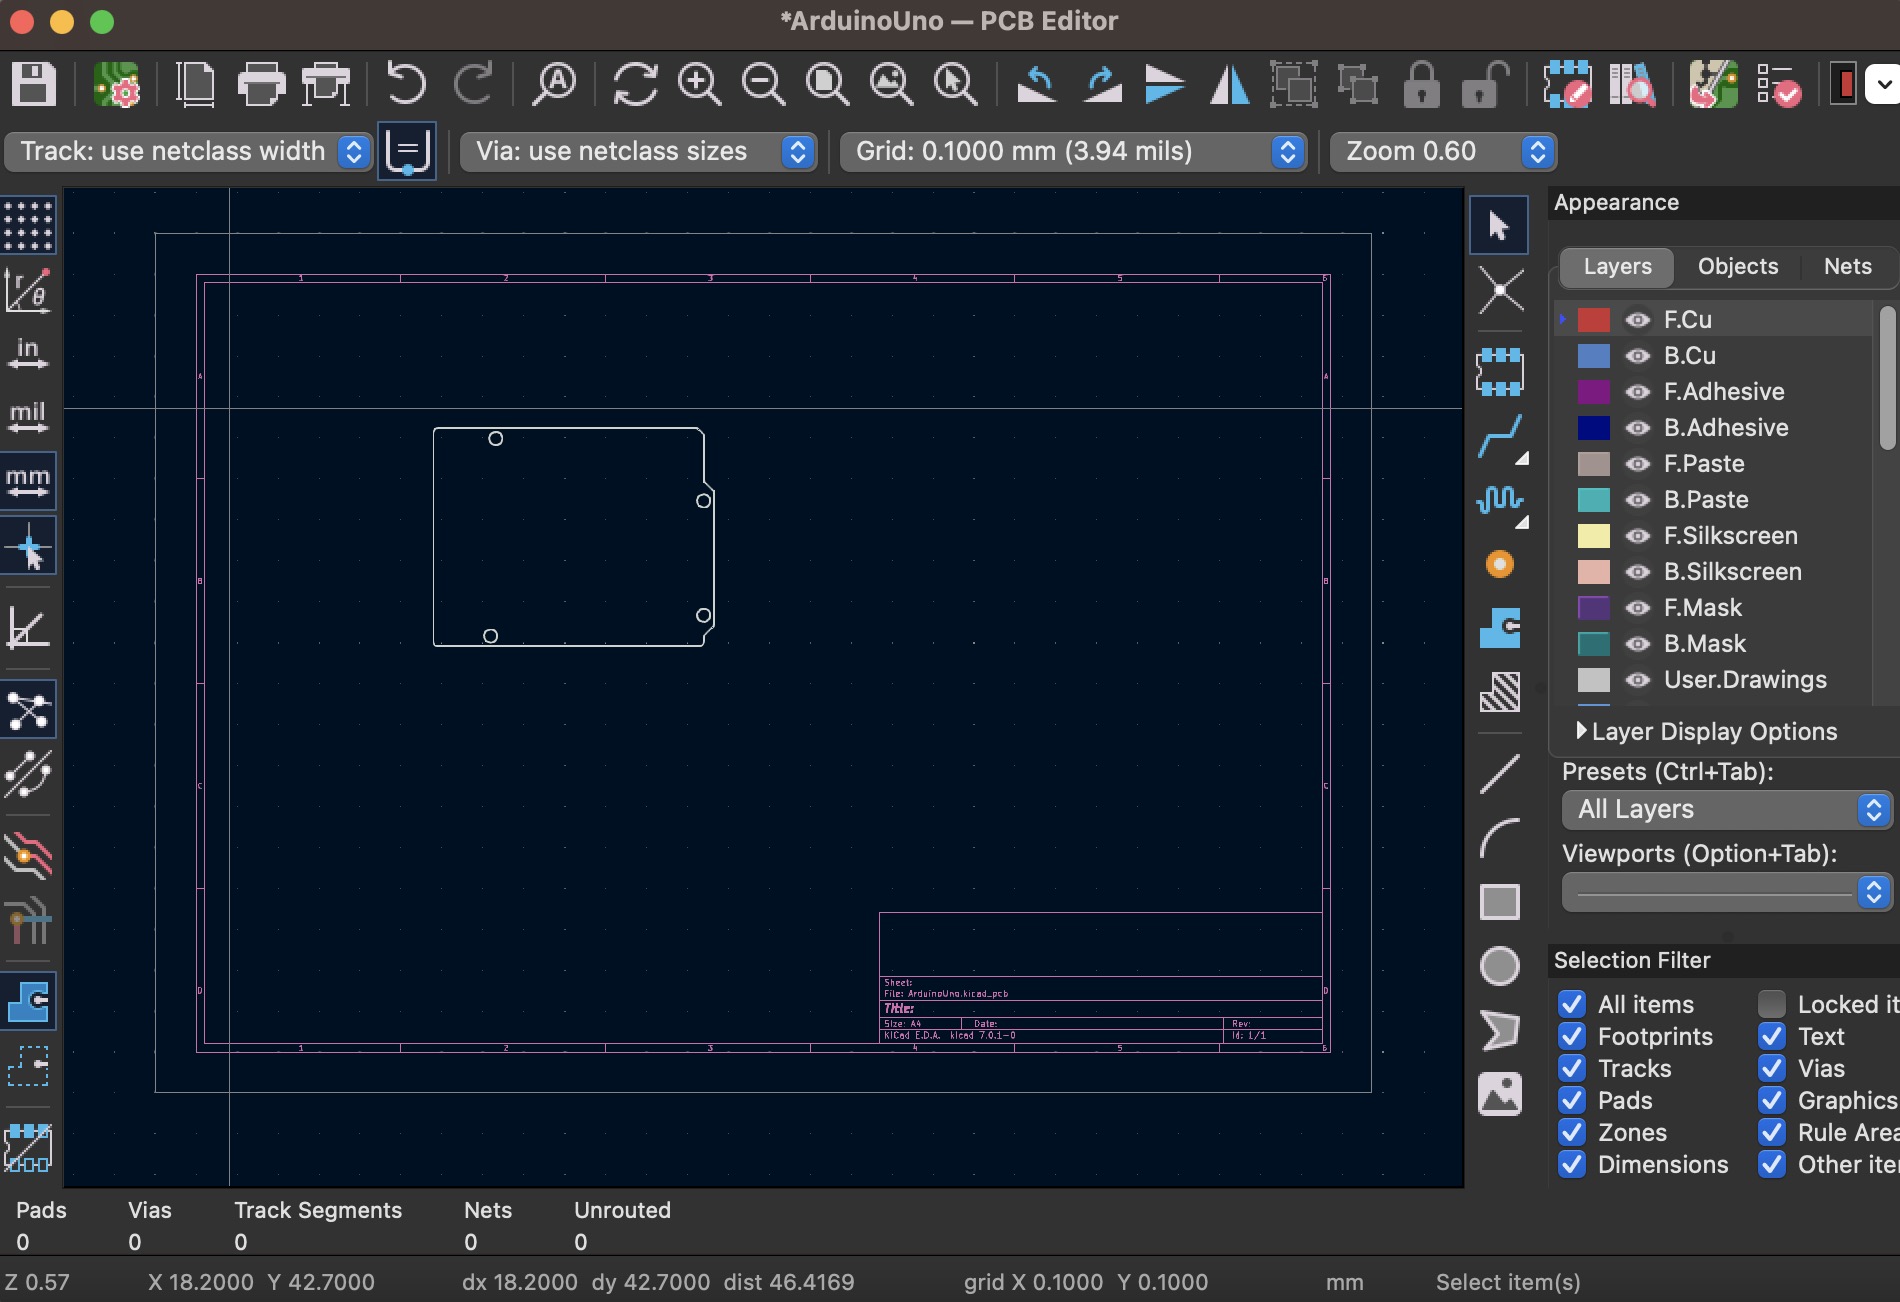
Edit DXF
We can make some edits to achieve the desired requirements, such as deleting unnecessary text Uno or changing all line widths to 0.2mm, etc., as shown below...
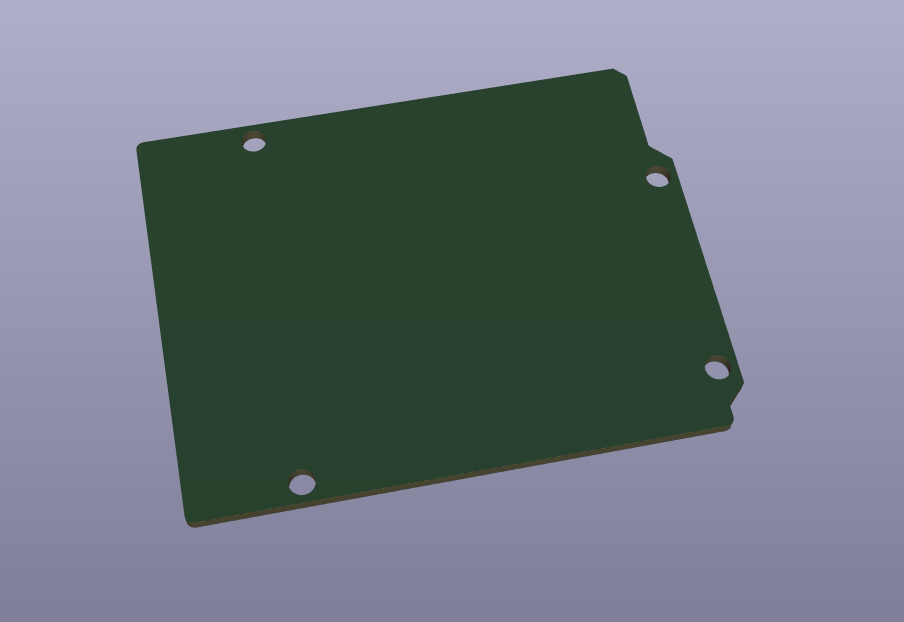
View PCB Outline In 3D
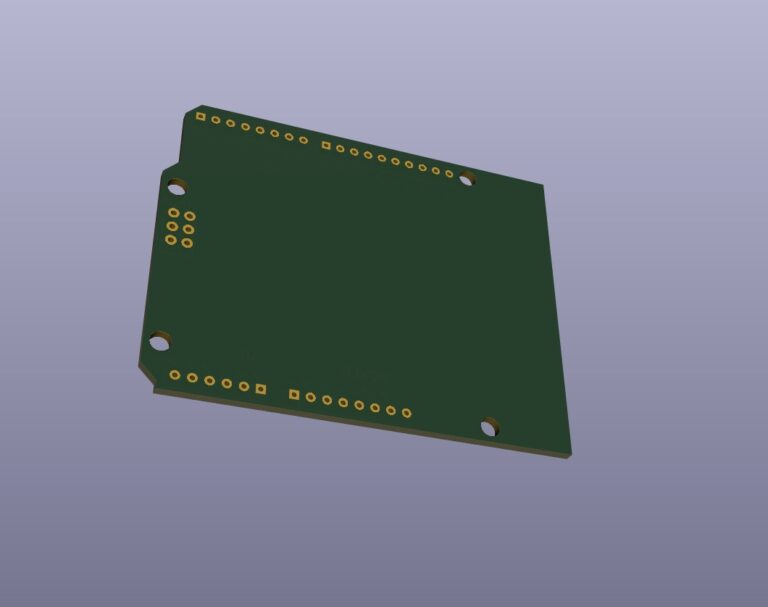
Because we placed it on the Edge.Cuts layer, we can use 3D to view the outline of the board.
Conclusion
Due to different KiCAD versions, the interface and steps may be different, so you can check KiCad's official documentation or related resources for more precise information.
PCB and DXF files play an important role in the design process, especially when needed as a way to check with other CAD tools or designs.

