KiCad 7.x Tutorial – How To Set The Grid Origin Of PCB
Contents
Introduction
In KiCad, "setting the origin" usually refers to the position and orientation of the board or component. This is a very important step when designing a PCB (Printed Circuit Board), which helps ensure accuracy and controllability of the PCB design. Below are the general steps for setting a PCB origin in KiCad.
Prepare A KiCad 7.x PCB File
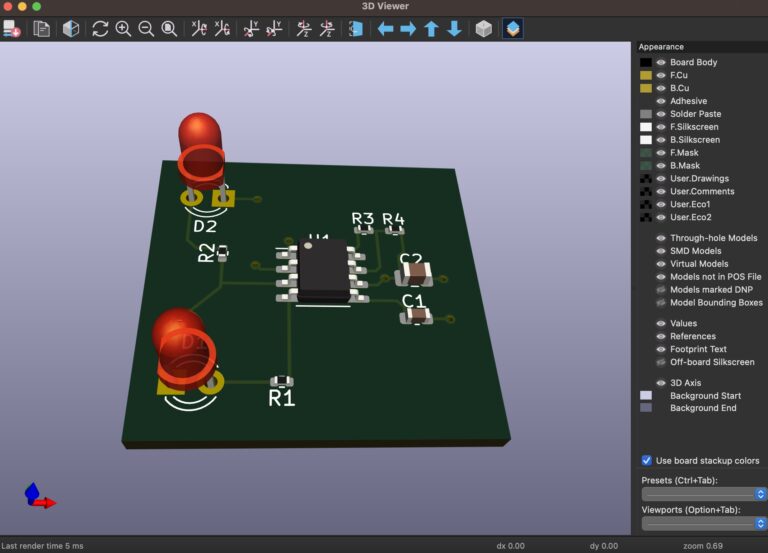
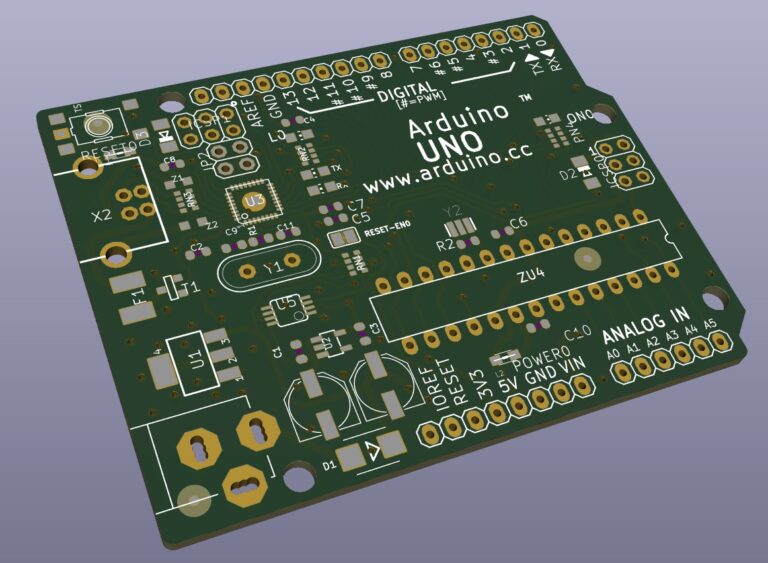
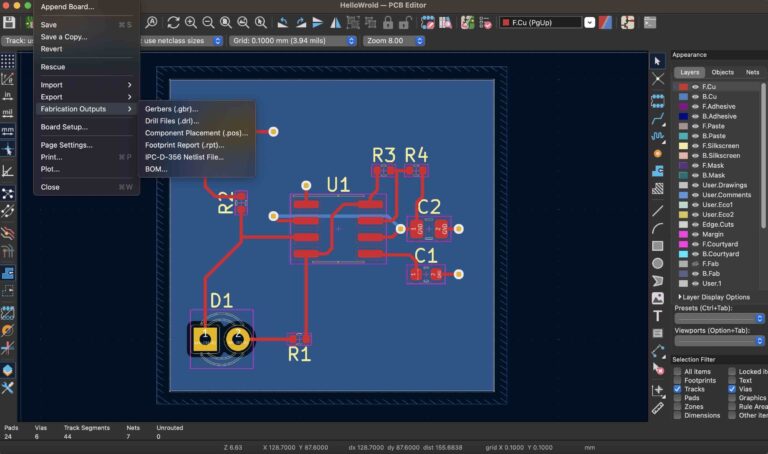
Prepare a KiCad PCB as a test file.
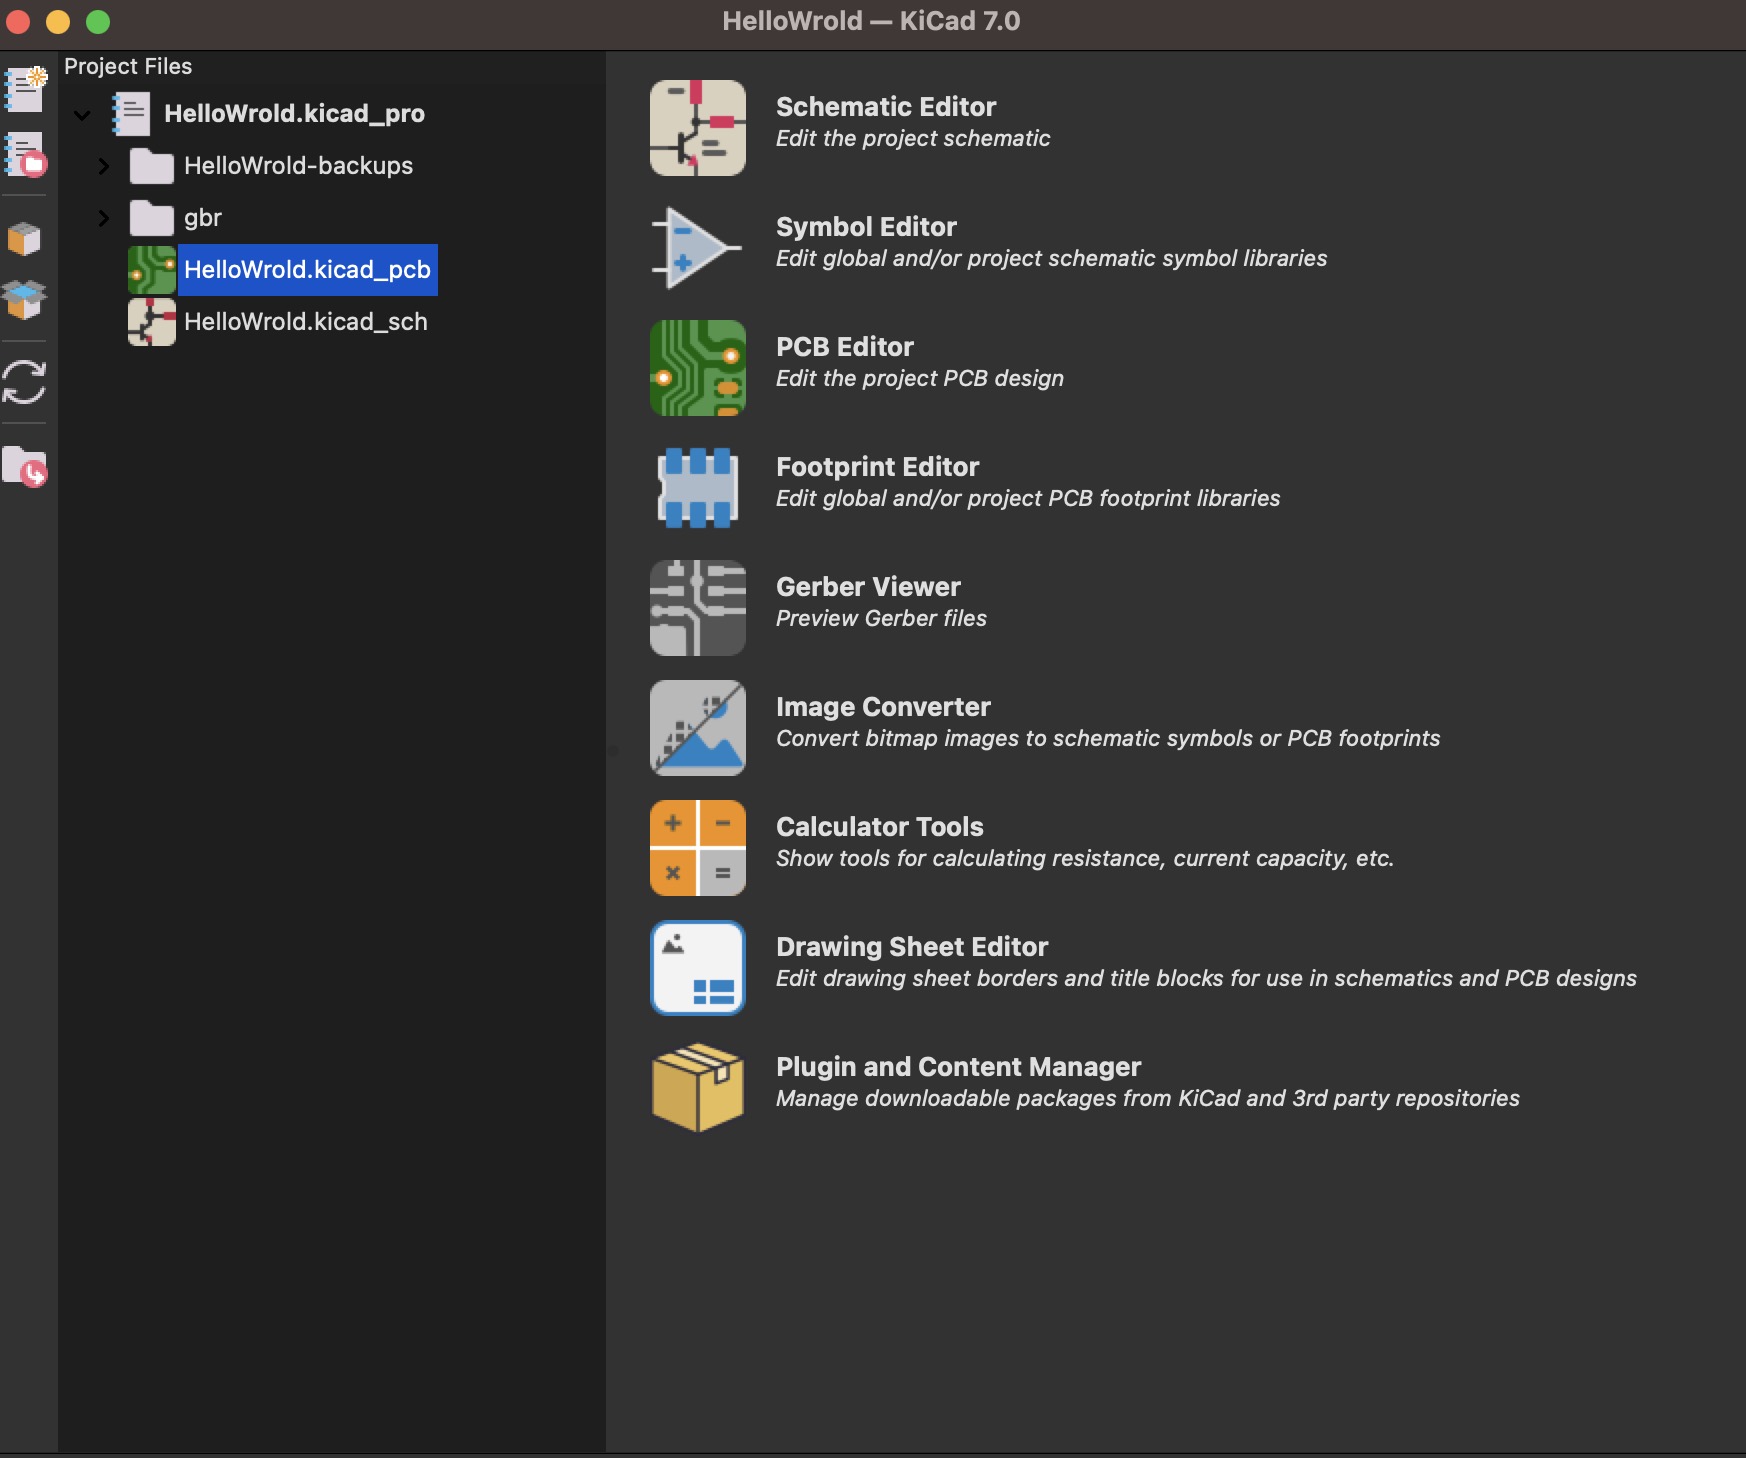
Open A KiCad Project
After opening the KiCad project and clicking on the *.kicad_pcb file, as shown below...
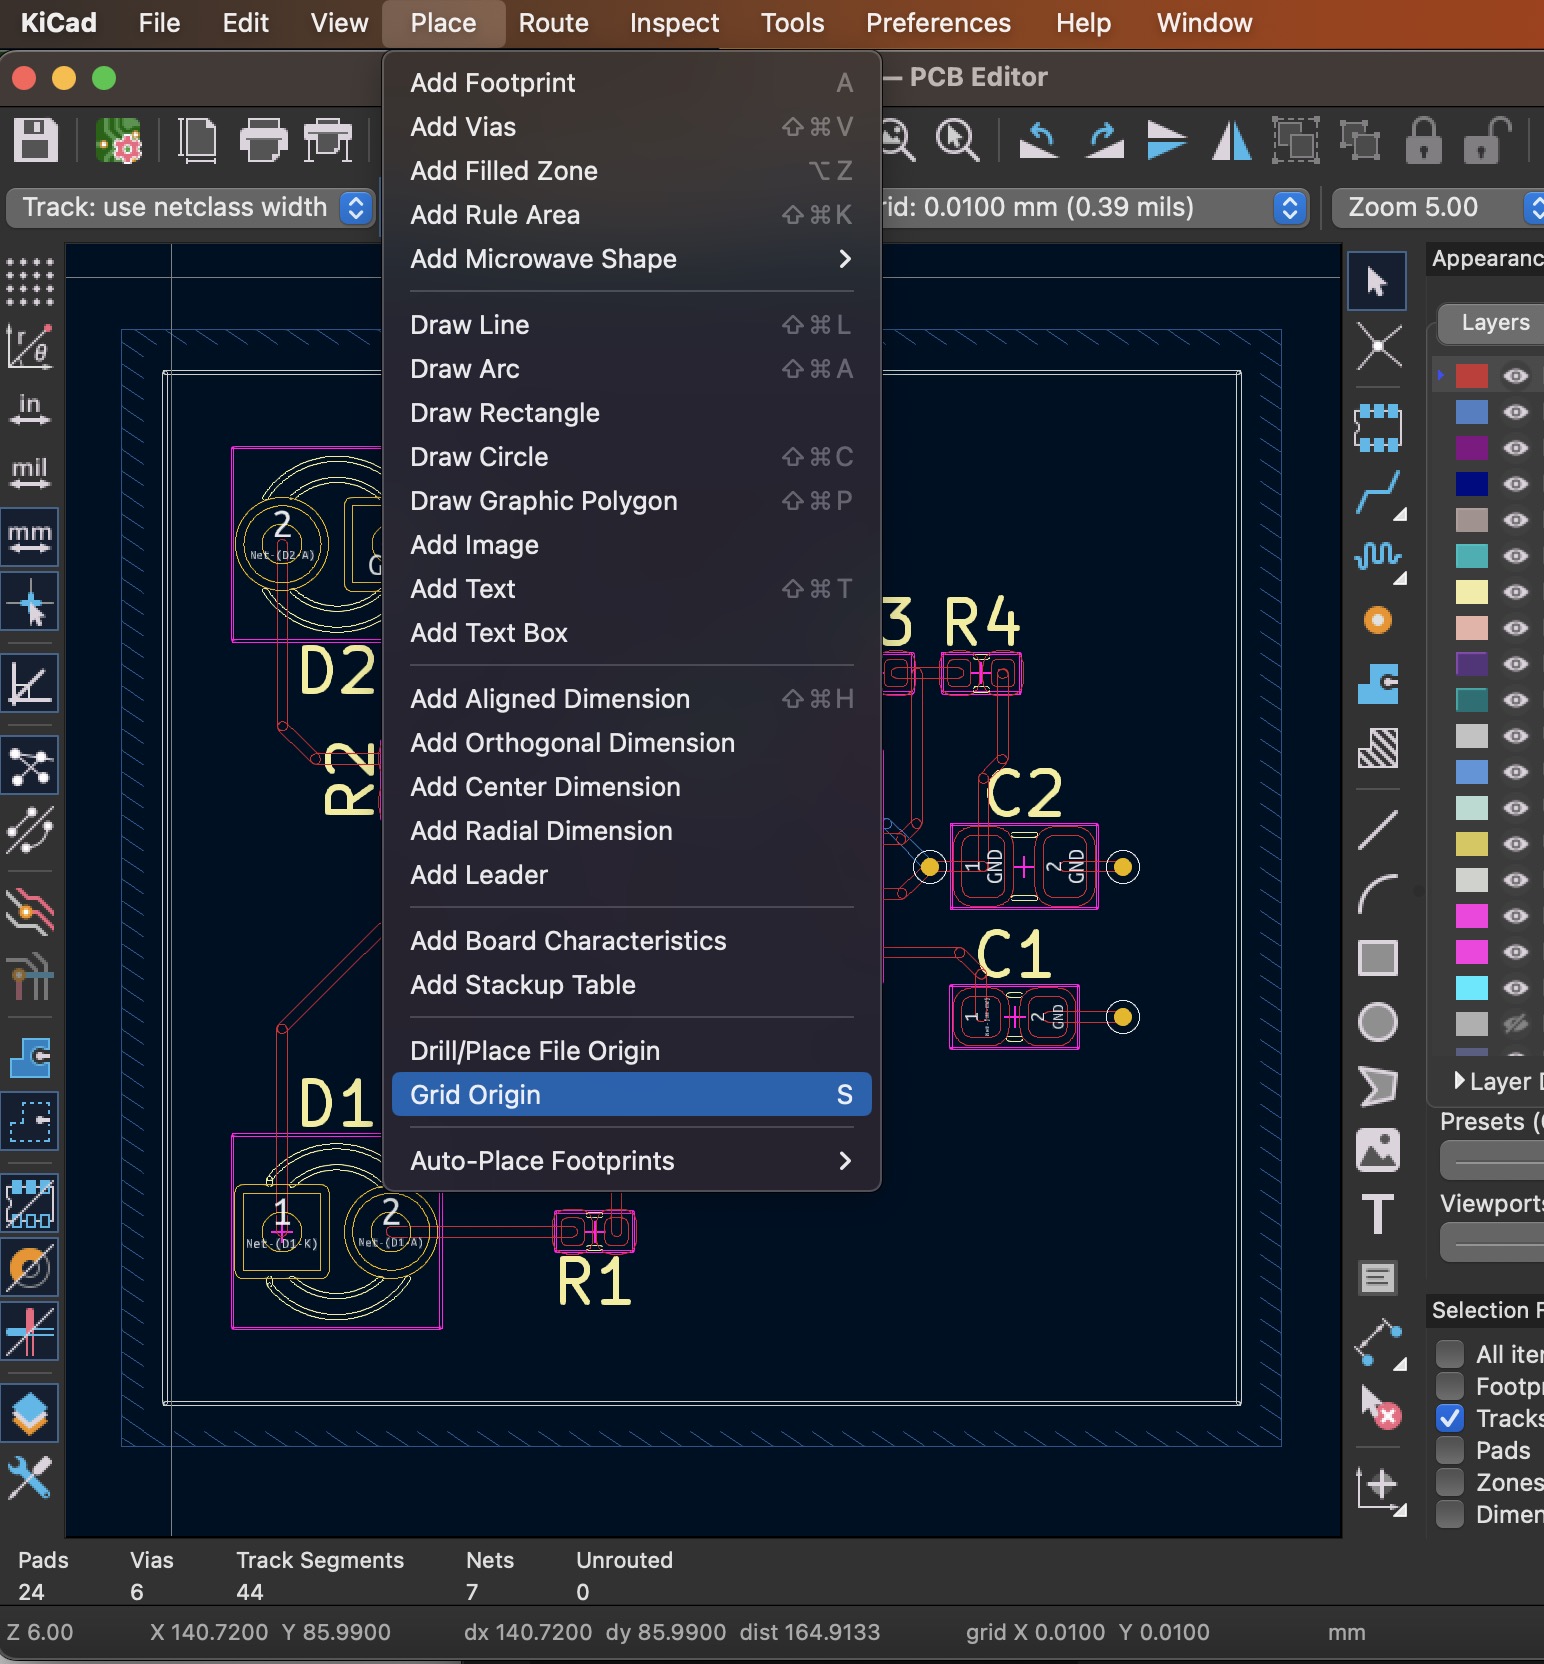
Place Origin
Select Place ▷ Grid Origin
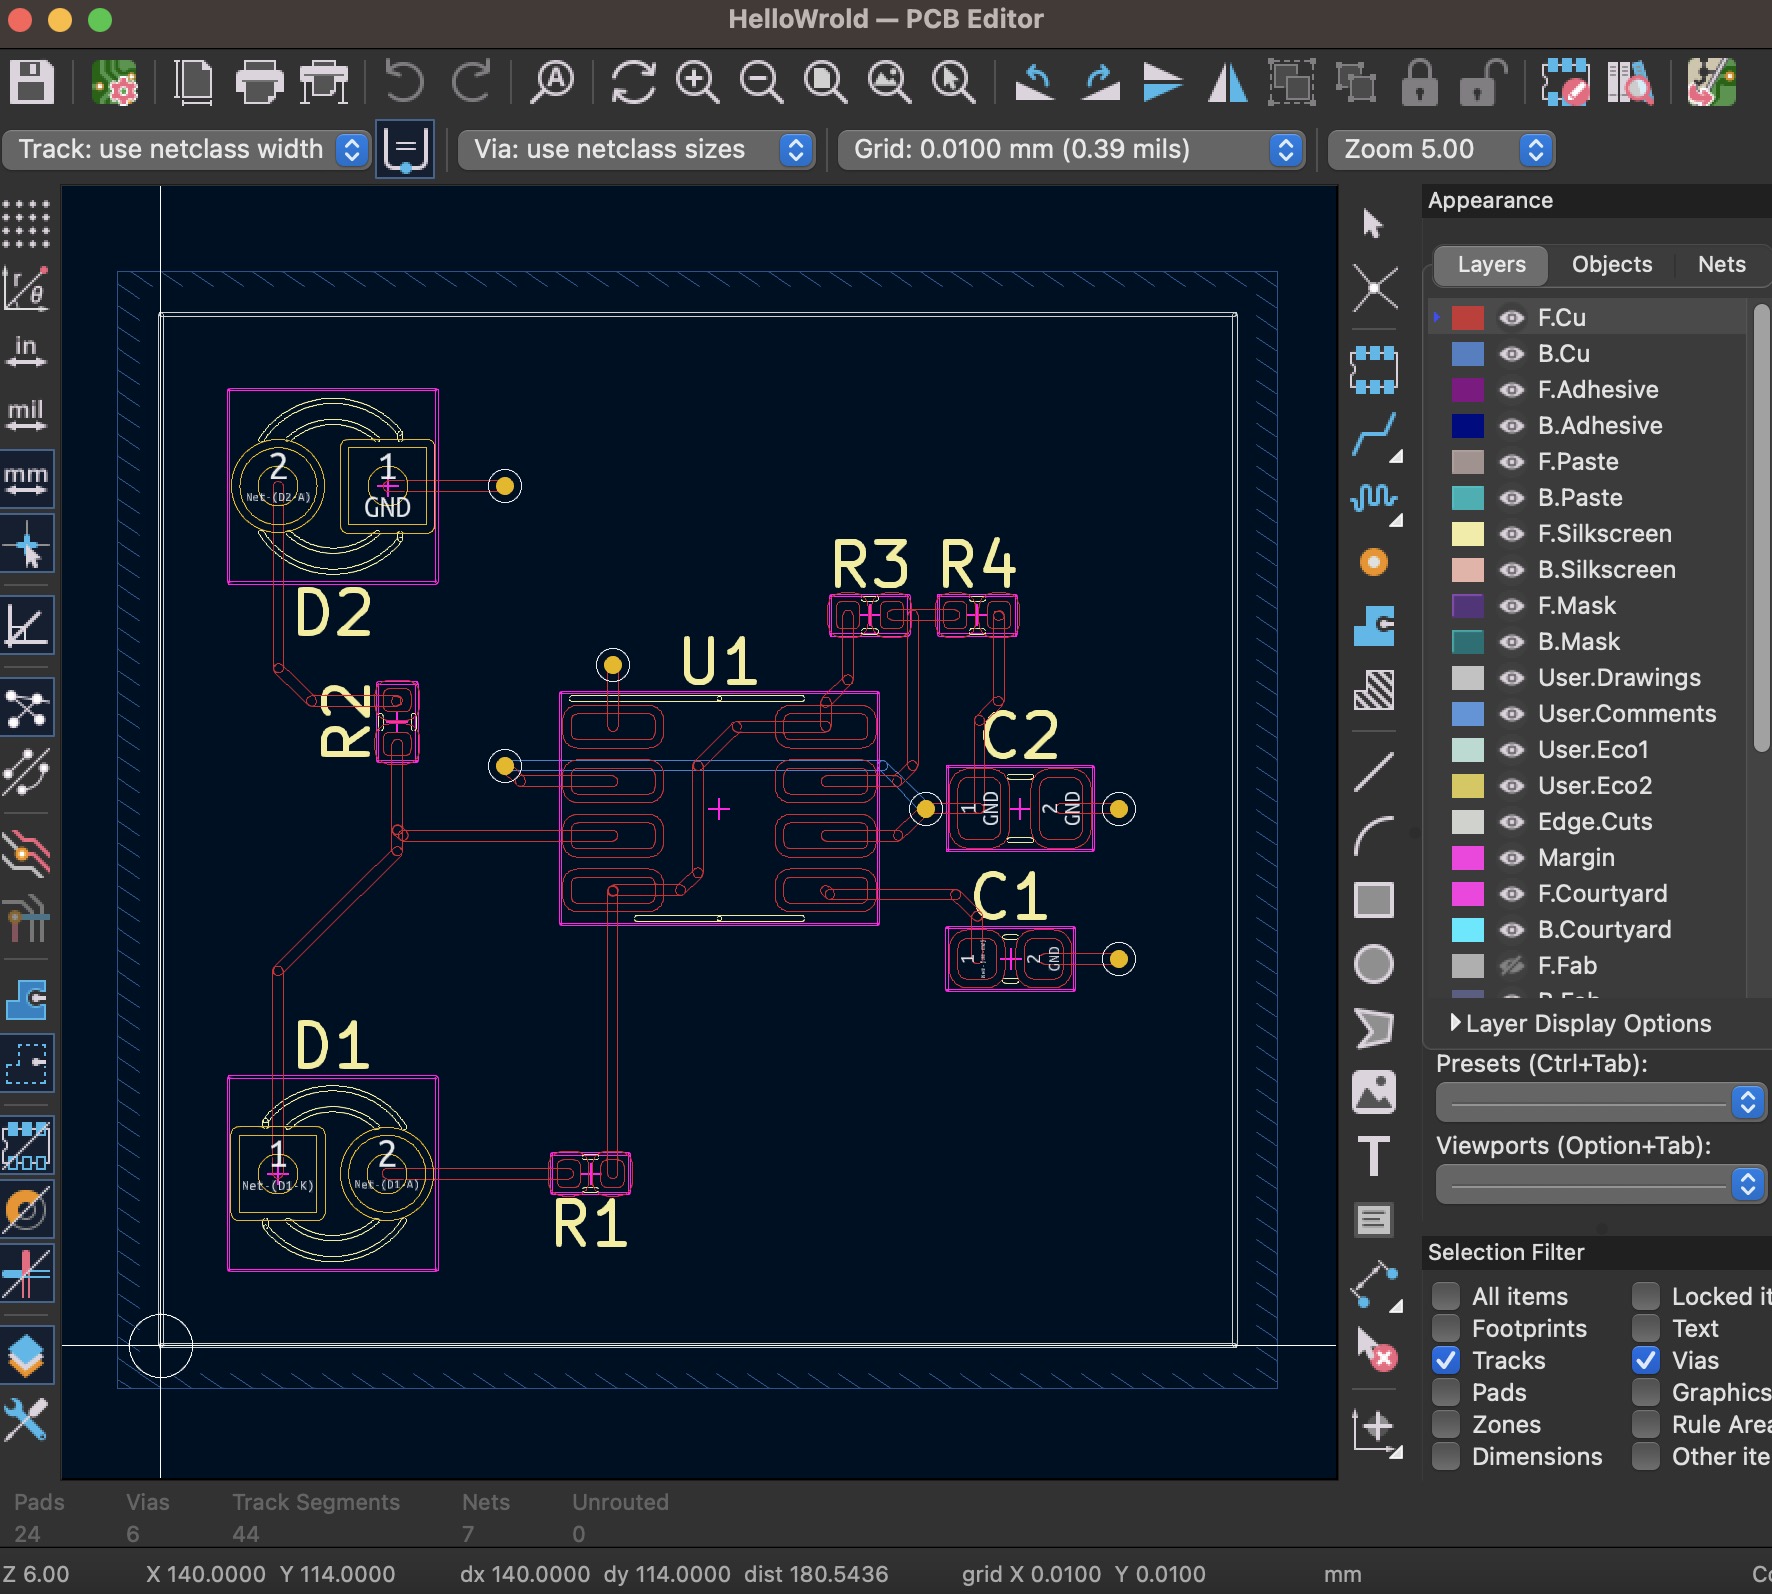
Select where you want to place the origin such as X 140.0000, Y 114.0000 as shown below...
Set Origin
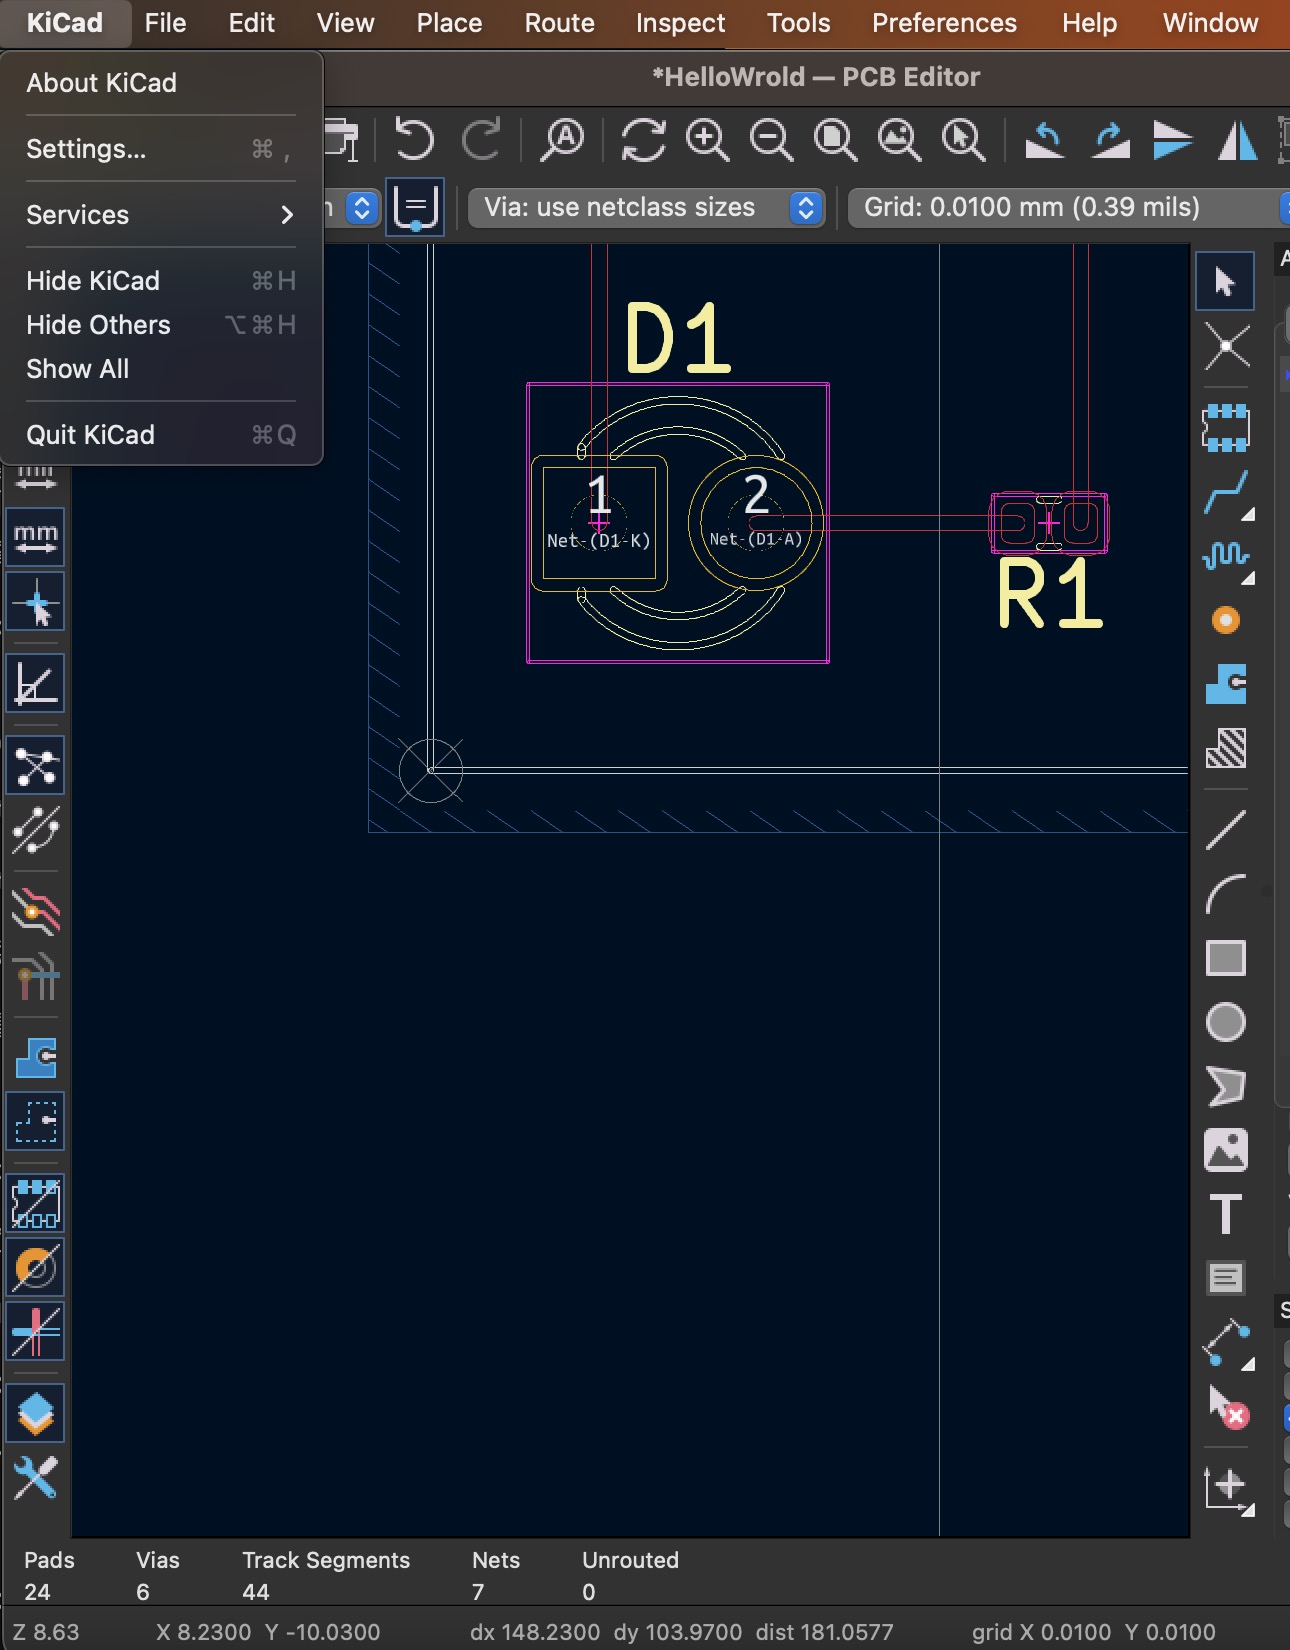
Click KiCad ▷ Settings... MacOS is used as an explanation.
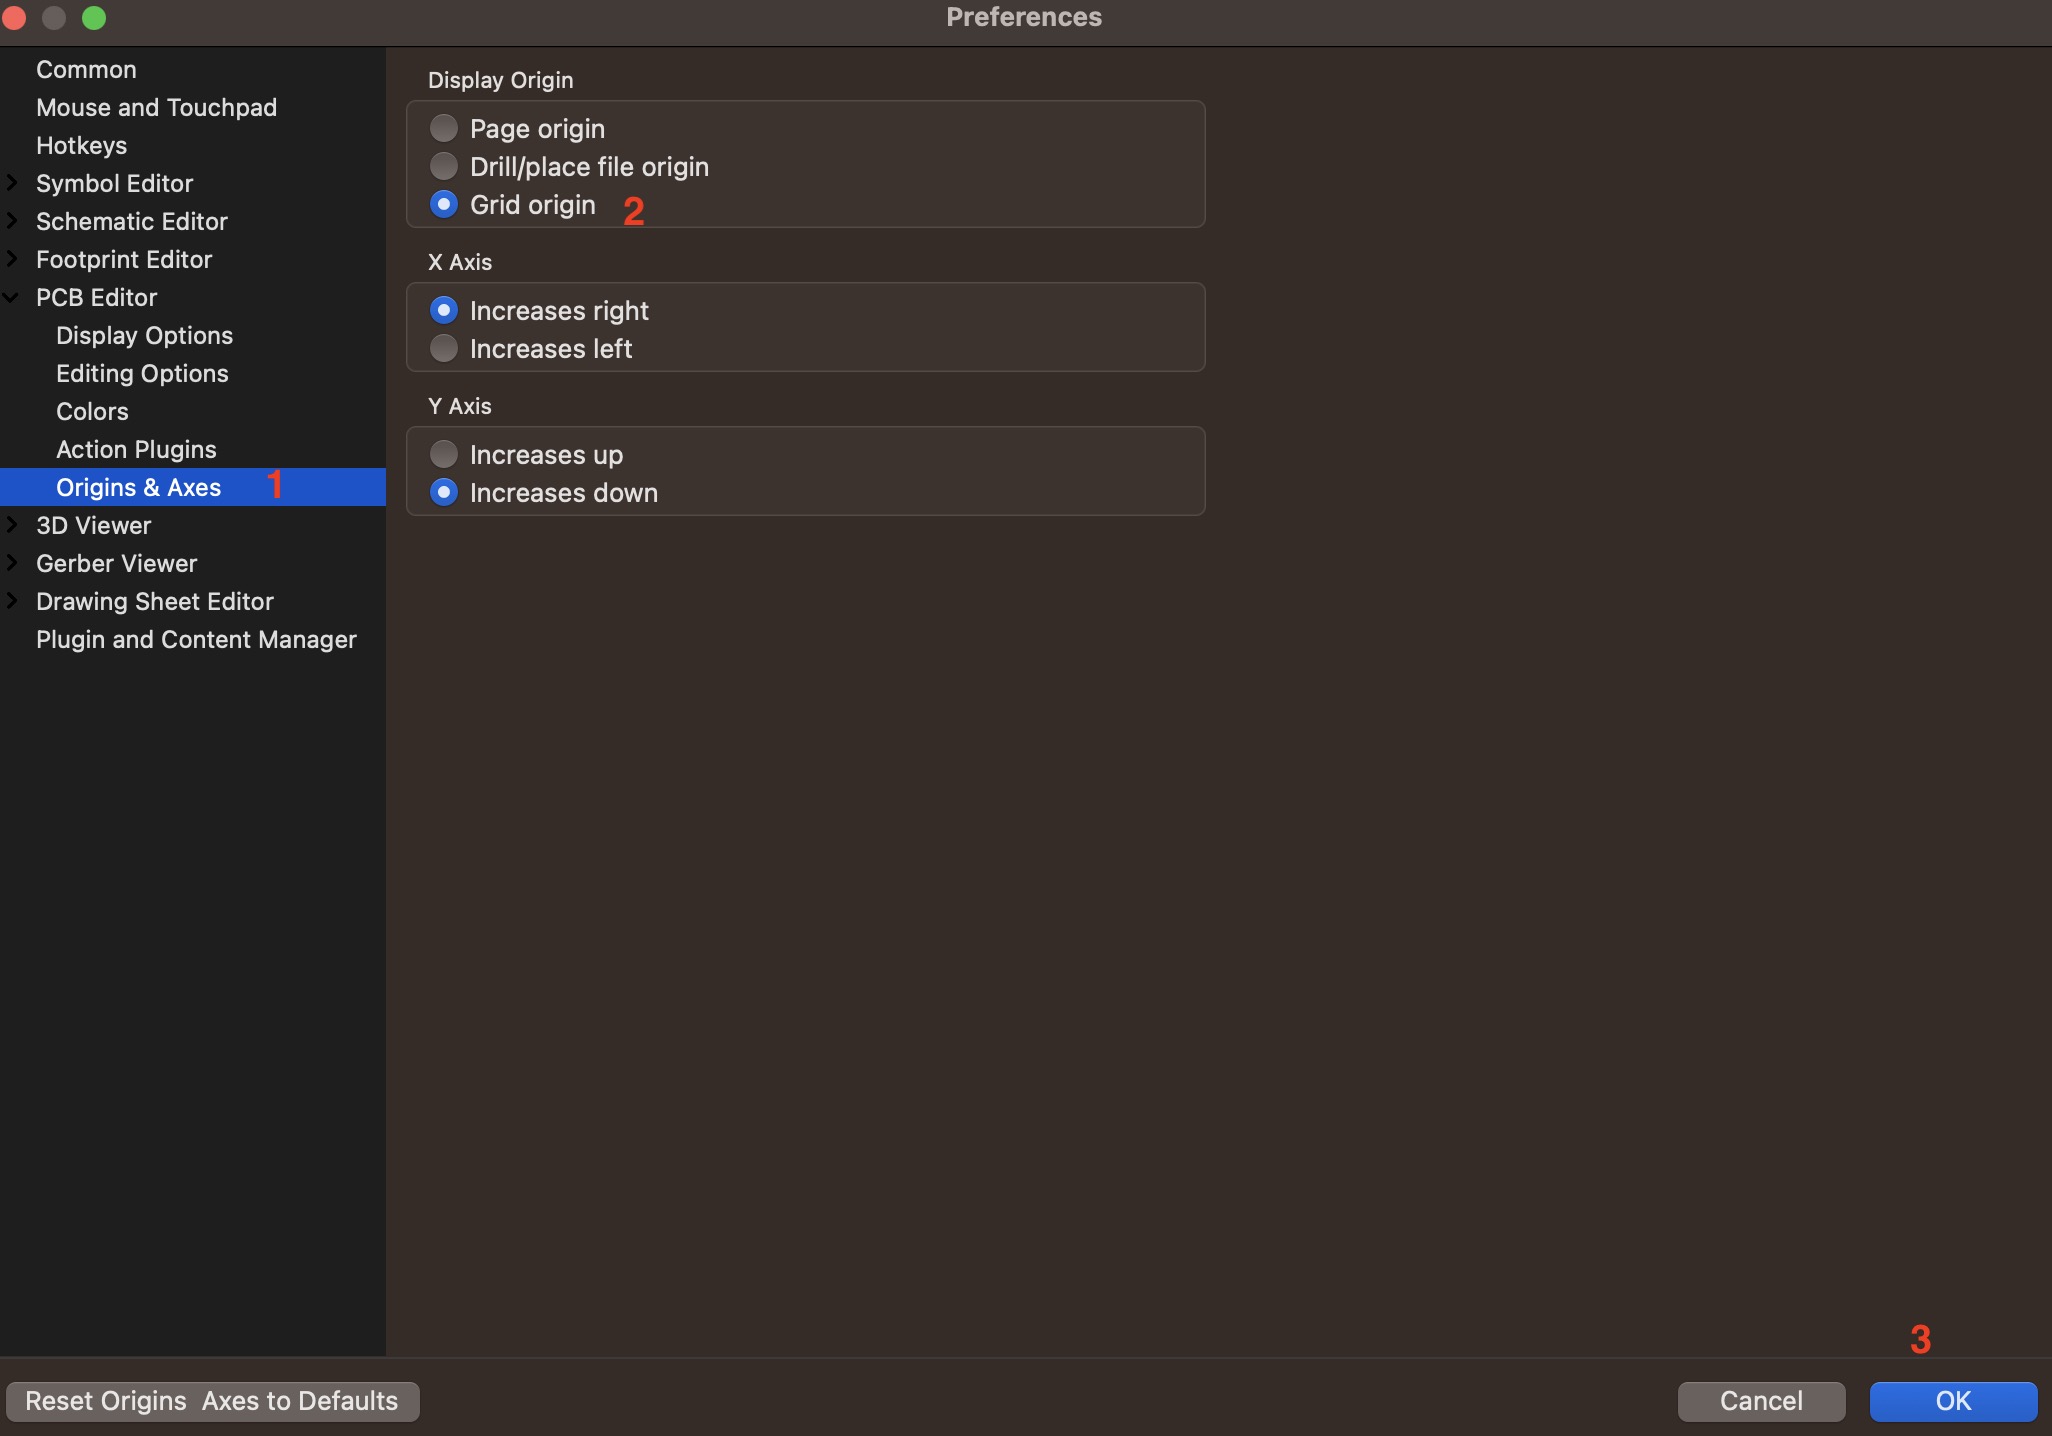
Select PCB Editor ▷ Origins & Axes ▷ Grid origin and click "OK" after completing the selection.
Check Origin Coordinate
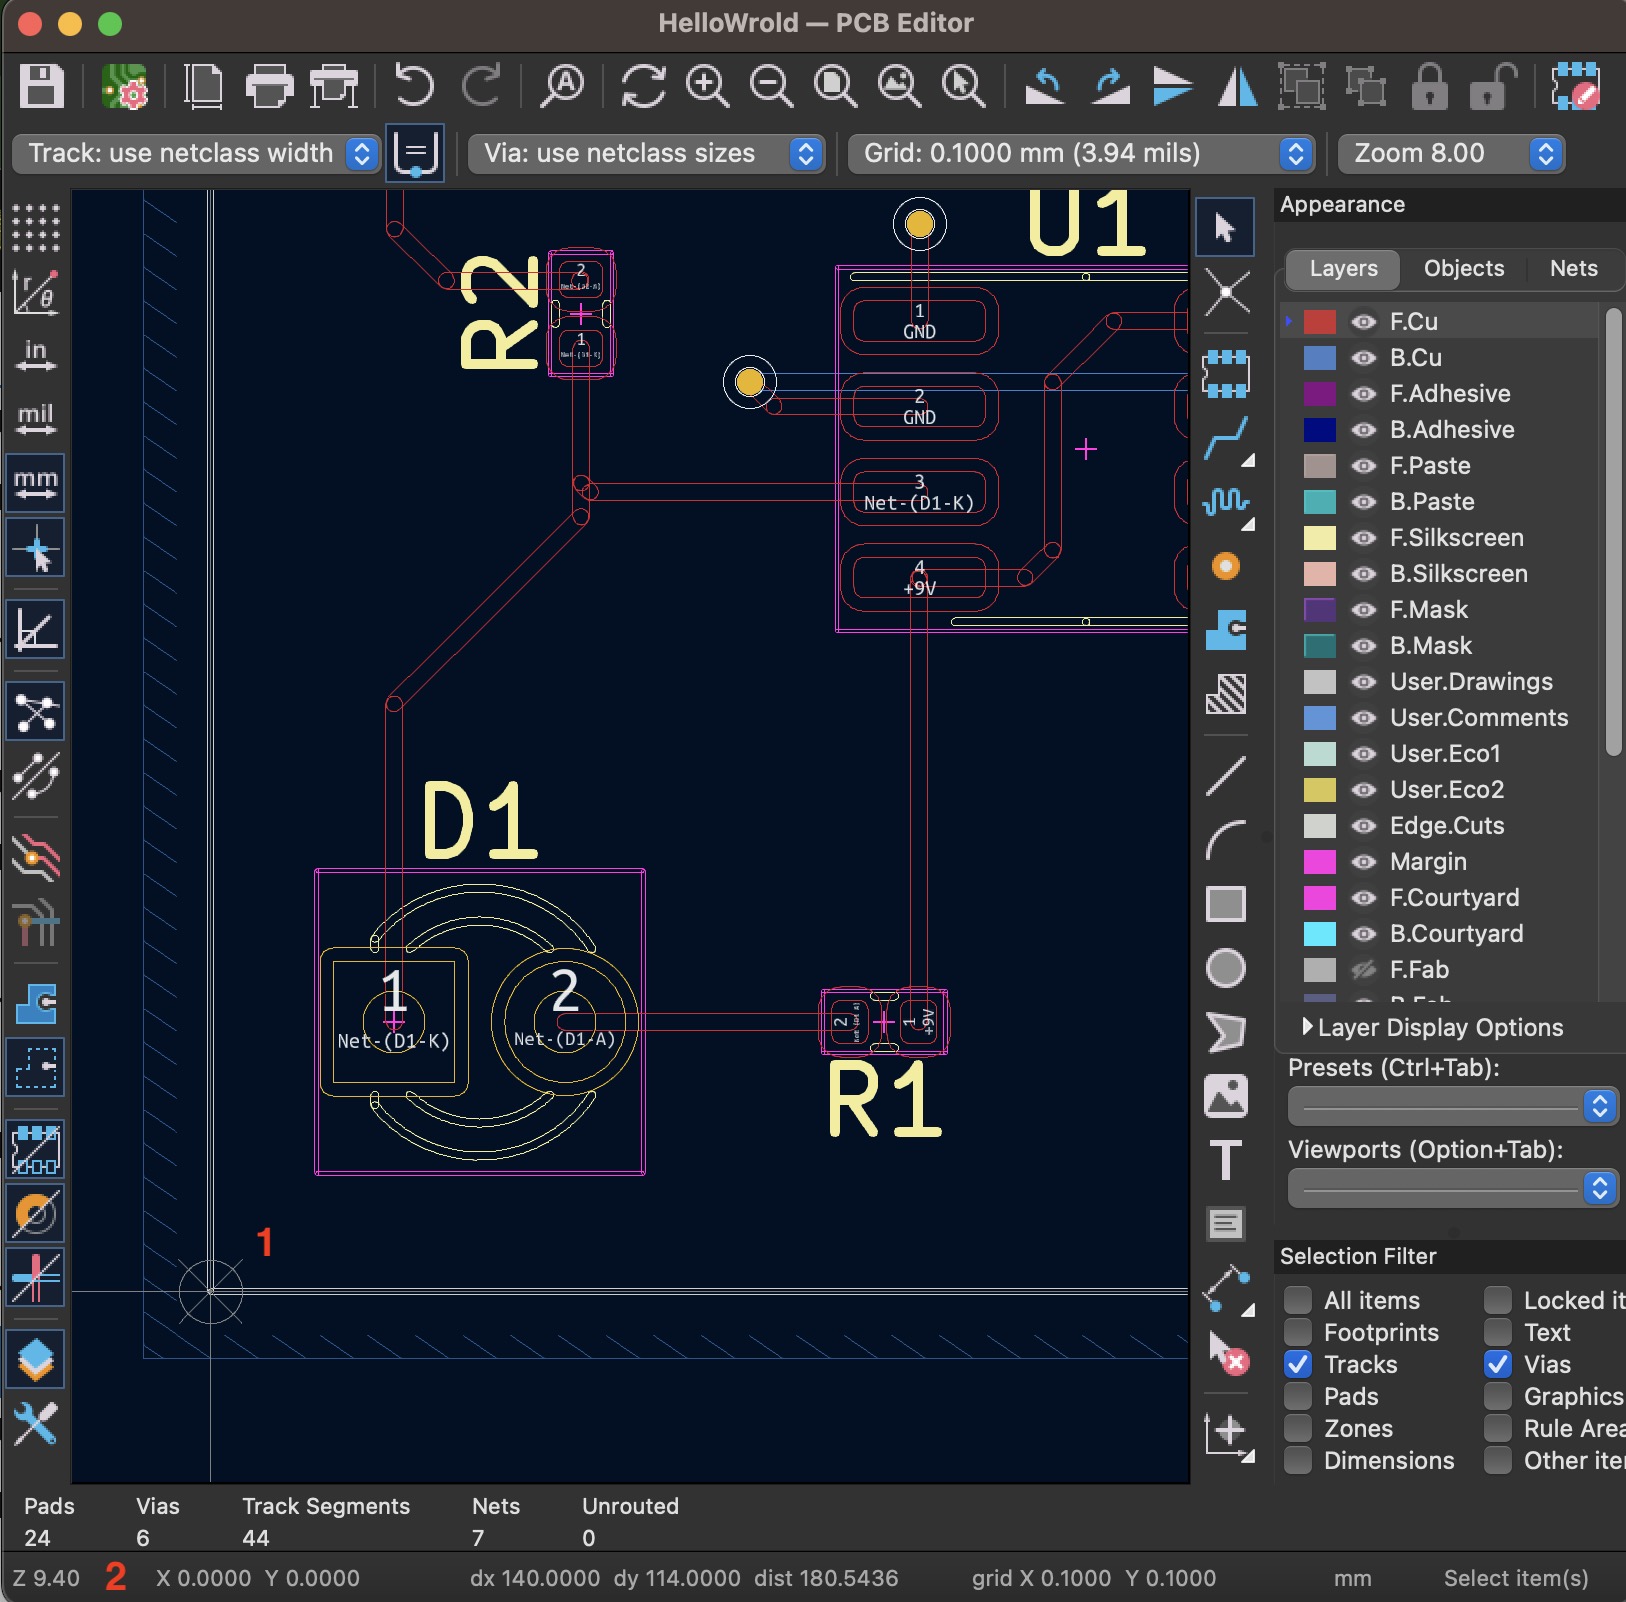
After returning to the PCB, you can see that the "Grid Origin" was previously set to X 0.0000 and Y 0.0000.
Conclusion
By completing these steps, your PCB will have its origin set to the specified location. This will be helpful for subsequent layout and routing work, as you can base component and trace placement on this origin point.

