Learn C++ namespace with ESP32 : The Easy Way
Introduction
In embedded development, particularly when working with powerful microcontrollers like the ESP32, well-organized code and clear naming conventions are essential. C++ namespace provide a robust way to structure code, avoid naming conflicts, and improve readability. In this article, we'll explore the benefits of namespace using ESP32 and the esp_log library.
Contents
Development Environment Setup
1. Install Visual Studio Code from the official website.
2. Install the ESP-IDF extension for Visual Studio Code.
Creating a New Project
1. In VS Code, press Ctrl (Cmd) + Shift + P, then type ESP-IDF: New Project.

2. Select a template project (e.g., the blink example), set a project name (like LED_Control), and choose the storage path.

3. The system will generate a new ESP-IDF project with basic CMake files and example code.
Project File Structure
my_project/
├── CMakeLists.txt
├── main/
│   ├── CMakeLists.txt
│   └── main.cpp
└── ...
Using namespace
When multiple developers work on the same project, they might accidentally use the same variable or function names. namespace can isolate these names and prevent conflicts.
#include <esp_log.h>

namespace LEDControl {
    void turnOn() {
        ESP_LOGI("LEDControl", "LED is turned ON");
    }

    void turnOff() {
        ESP_LOGI("LEDControl", "LED is turned OFF");
    }
}

namespace TemperatureSensor {
    void turnOn() {
        ESP_LOGI("TemperatureSensor", "Temperature sensor is turned ON");
    }

    void turnOff() {
        ESP_LOGI("TemperatureSensor", "Temperature sensor is turned OFF");
    }
}

extern "C" void app_main(void) {
    LEDControl::turnOn();
    TemperatureSensor::turnOn();
}
In this example, we have two turnOn() functions, one for LED control and another for the temperature sensor, but since they are in different namespace, there are no conflicts.
#include <esp_log.h>

namespace LEDControl {
    class LED {
    public:
        void turnOn() {
            ESP_LOGI("LEDControl", "LED is turned ON");
        }

        void turnOff() {
            ESP_LOGI("LEDControl", "LED is turned OFF");
        }
    };
}

namespace TemperatureSensor {
    class Sensor {
    public:
        void turnOn() {
            ESP_LOGI("TemperatureSensor", "Temperature sensor is turned ON");
        }

        void turnOff() {
            ESP_LOGI("TemperatureSensor", "Temperature sensor is turned OFF");
        }
    };
}

extern "C" void app_main(void) {
    LEDControl::LED led;
    TemperatureSensor::Sensor tempSensor;

    led.turnOn();
    tempSensor.turnOn();
}
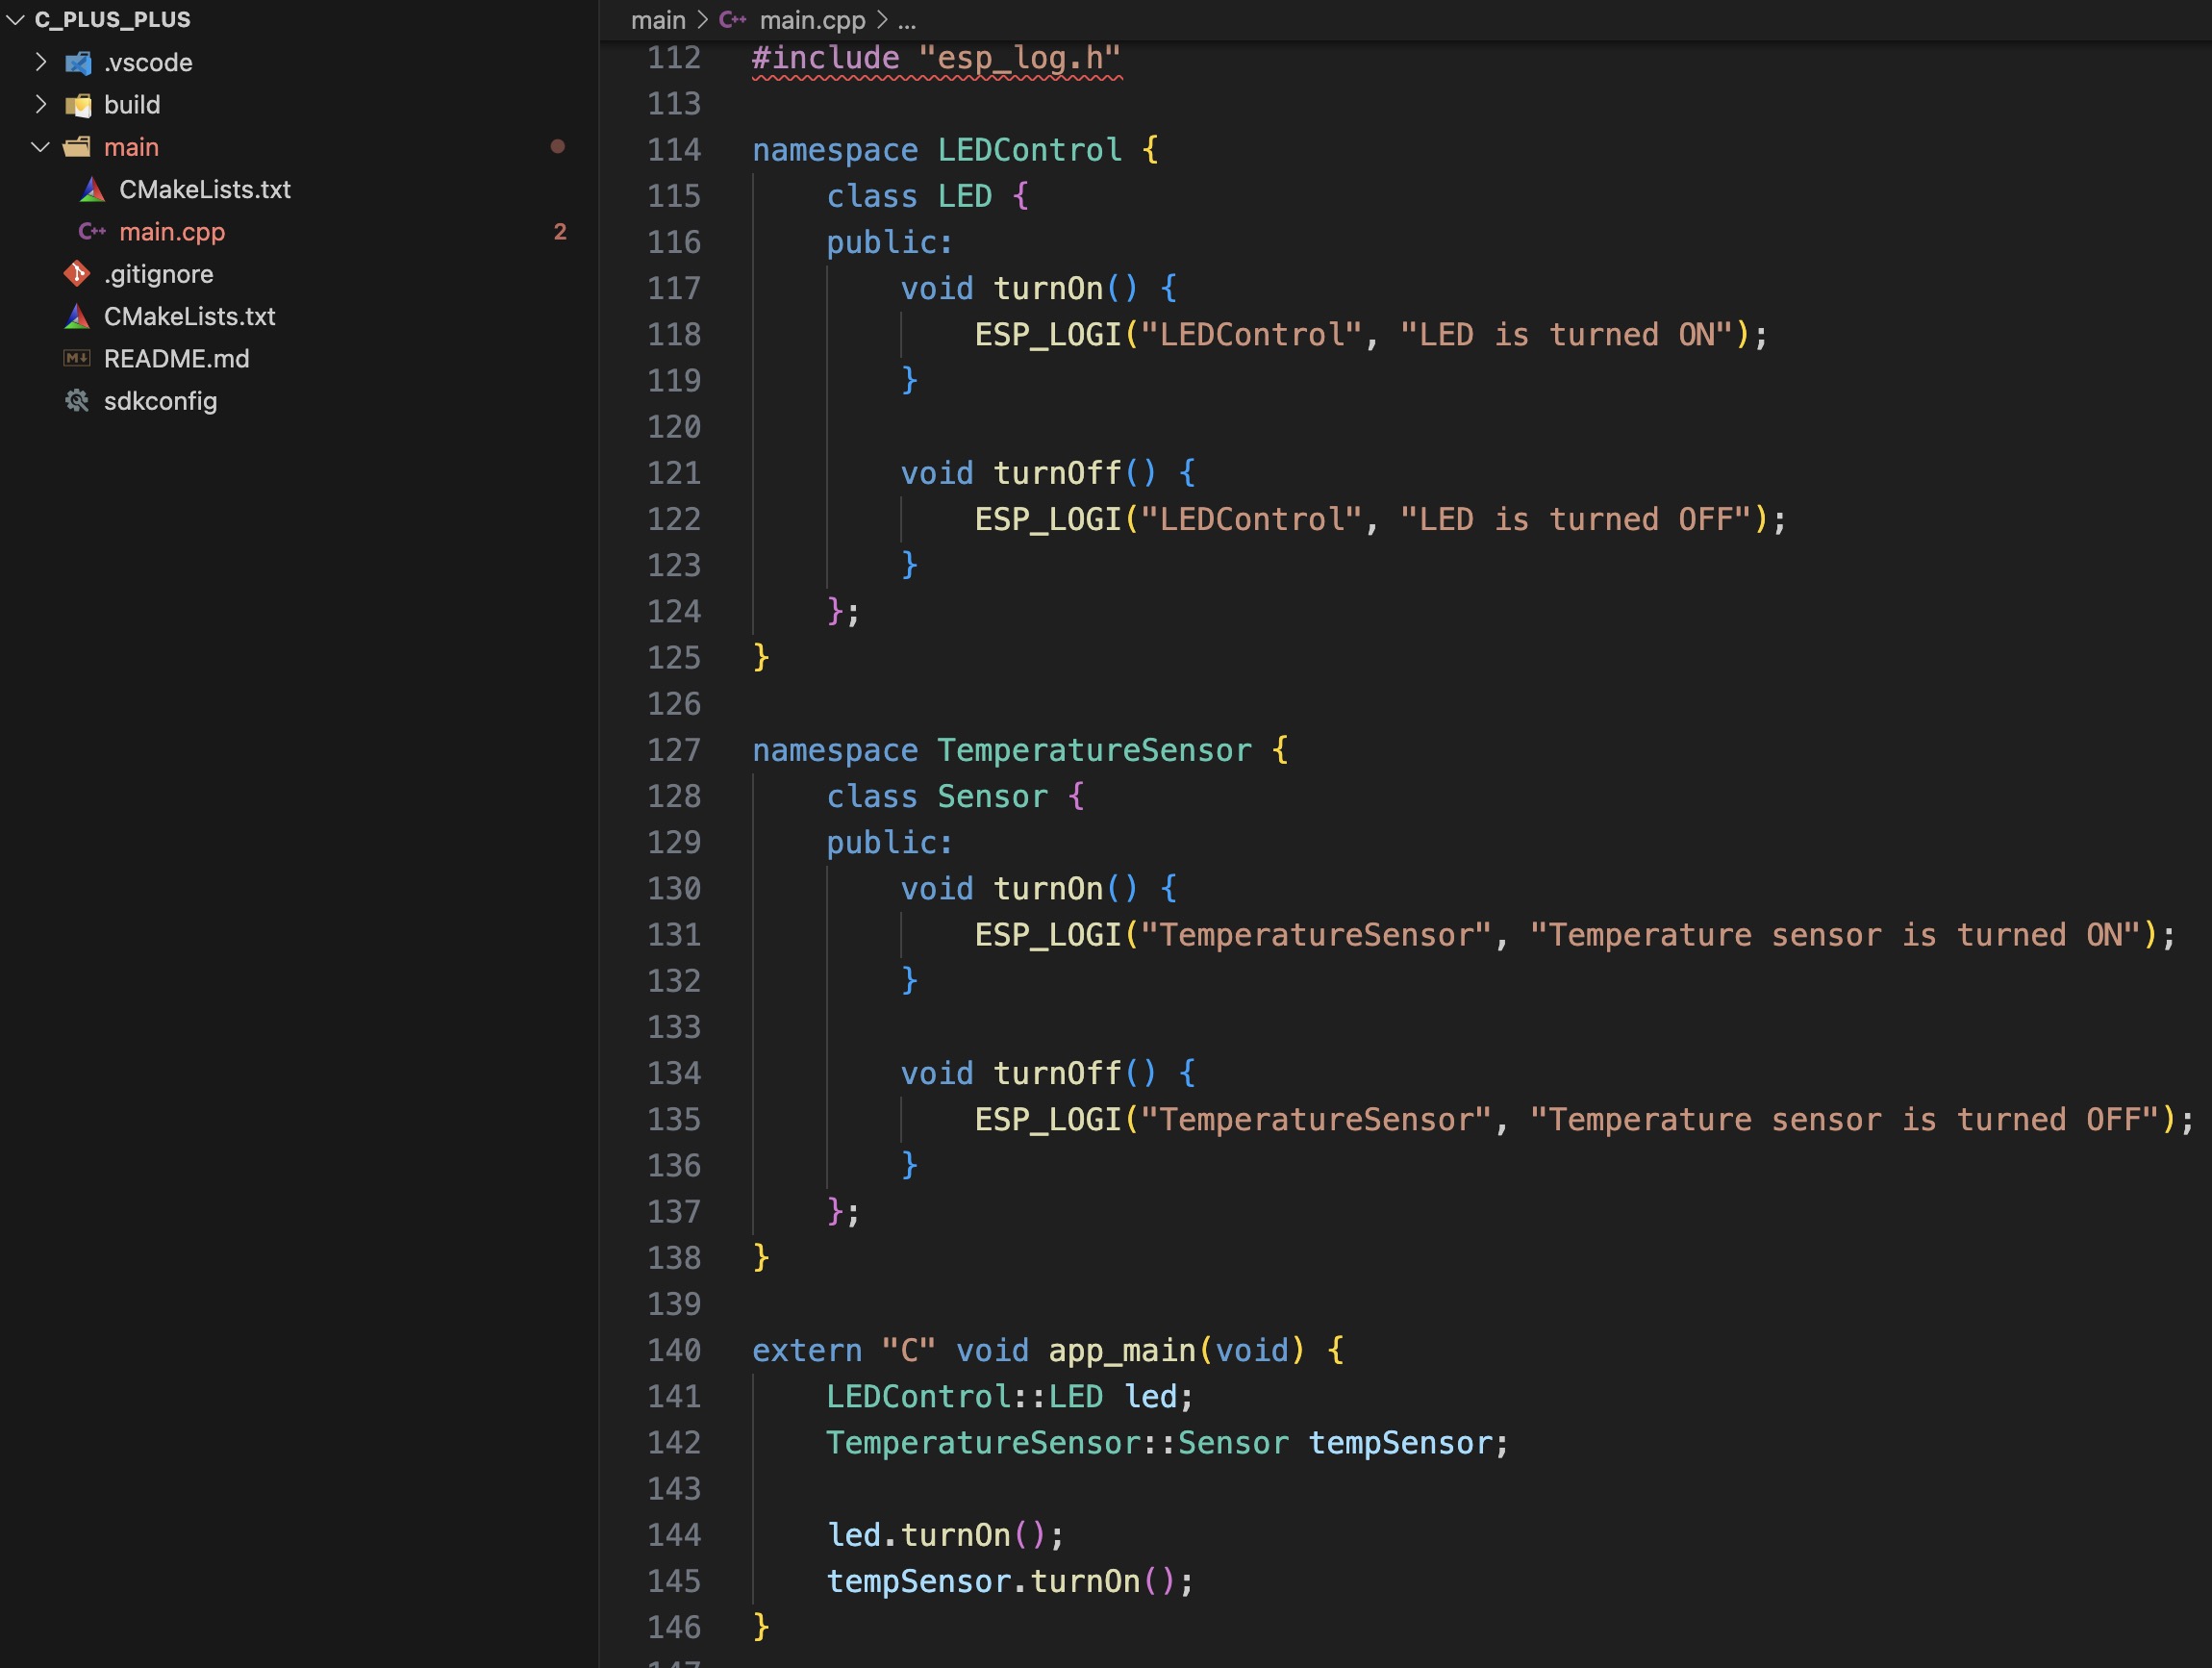
In this example, LEDControl::LED and TemperatureSensor::Sensor are classes for LED control and temperature sensing, respectively. Since they are in different namespaces, there will be no name conflicts.
Compilation and Flashing
In the VS Code window, find the "ESP32-IDF: Build, Flash, and Monitor" icon at the bottom and click it to compile and flash the code.
Running the Code
Once the program is running, you will see the following output in the terminal:
I (1234) LEDControl: LED is turned ON
I (1235) TemperatureSensor: Temperature sensor is turned ON
Conclusion
In ESP32 development, using C++ classes and namespace offers several advantages:

1. Avoiding Naming Conflicts: Functions or classes with the same name in different modules won't conflict.

2. Clear Code Organization: Keeps code for different functionalities separated and easy to maintain.

3. Supports Team Collaboration: Developers can work in separate name spaces without worrying about name clashes.

4. Maintainability and Extensibility: You can easily add new features within name spaces without impacting other parts of the code.

In large projects or team development, using classes and name spaces effectively is key to maintaining high-quality, readable code. We hope this article helps you better understand the benefits of name spaces and how to apply them in ESP32 development!


